Embroidered Pouches
14 October 2026
Wow the time has flown! I spent all of September embroidering so much that I haven’t had time to post on here, so we’ve got a bit of a project backlog to get through. Anyway let’s jump into it!
One of my favorite things to do with my embroidery projects is to make belt pouches. It’s a simple and functional item for the SCA. Belt pouches the way I make them are not very historically accurate though, which is important to keep in mind! However, especially for the modern life, I think belt pouches are INCREDIBLY useful. It’s where I keep my phone, car keys, and wallet while I’m at events. The pouch functions just like a pocket, and it helps keep everything together so I’m not panicking at the end of an event trying to find my things.
These two pouches were made for an event called the Ducal Challenge. Ducal is a fighting event, where the fighter either needs to make or commission an artist to make a piece of art. That art serves as the fighter’s entry fee to the tournament, and the art is then given as prizes for the winners of the tournament. I wound up making embroidered pouches for 3 fighters! The third pouch is going to get it’s own blog post because it was made using a new embroidery technique.
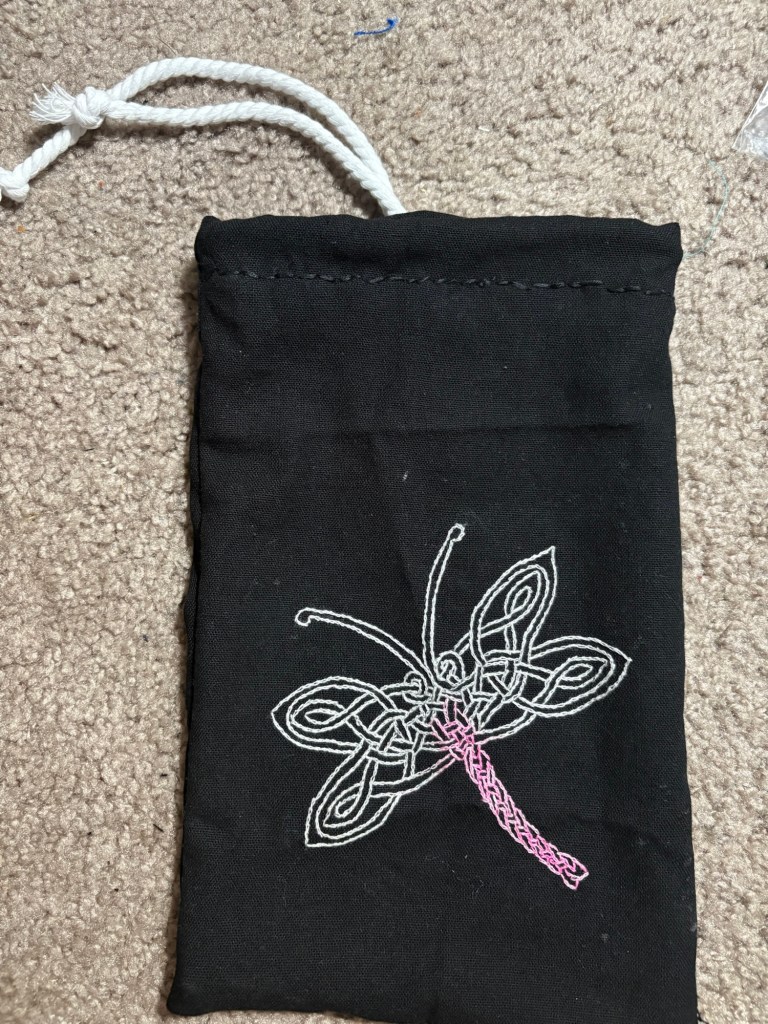
The first pouch is a dragonfly, done in with 2 strands of white embroidery floss using the split stitch.
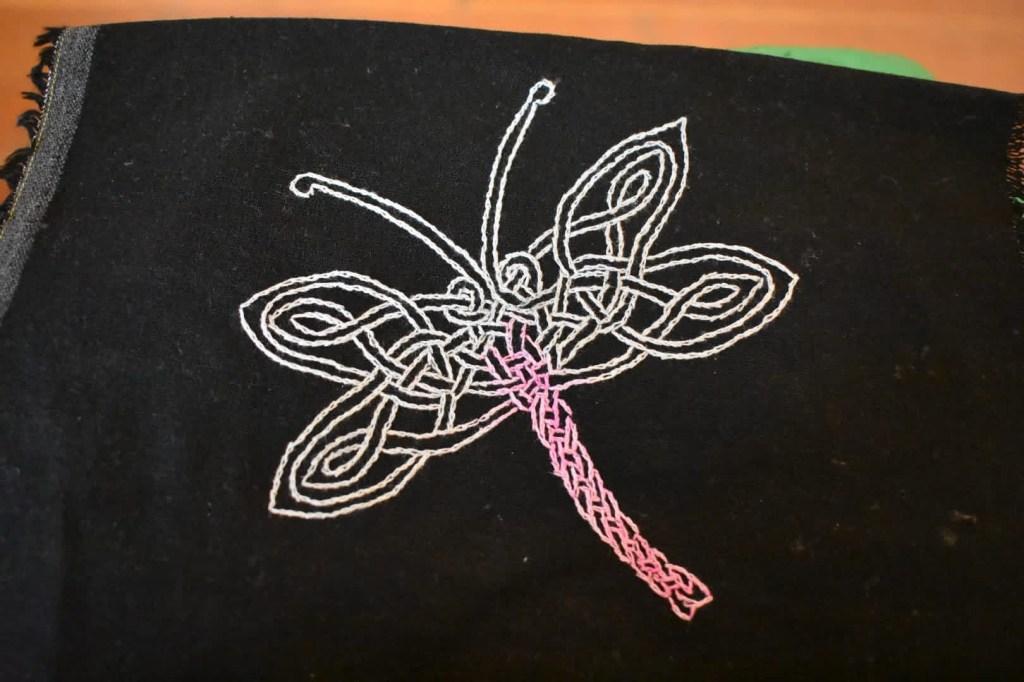
The split stitch is by far my favorite stitch. You make a stitch, and then bring the needle back up in the middle of your stitch, splitting the floss in half. Very simple, and looks beautiful when finished. This particular design was rather difficult to embroider. The knotwork on the body of the dragonfly is so intricate and tiny at this scale. I use washable interfacing as a guide, and the surface of the paper has a tendency to get a little fuzzy, like an old sweater. The fuzz makes the pencil lines a little blurry, which is normally not a concern! However, knotwork like this calls for more precision, and I was frustrated and not thinking, so I touched up the lines using a pink sharpie. The sharpie made the lines WAY easier to see….but as you may be able to tell it also bled color onto my white floss.
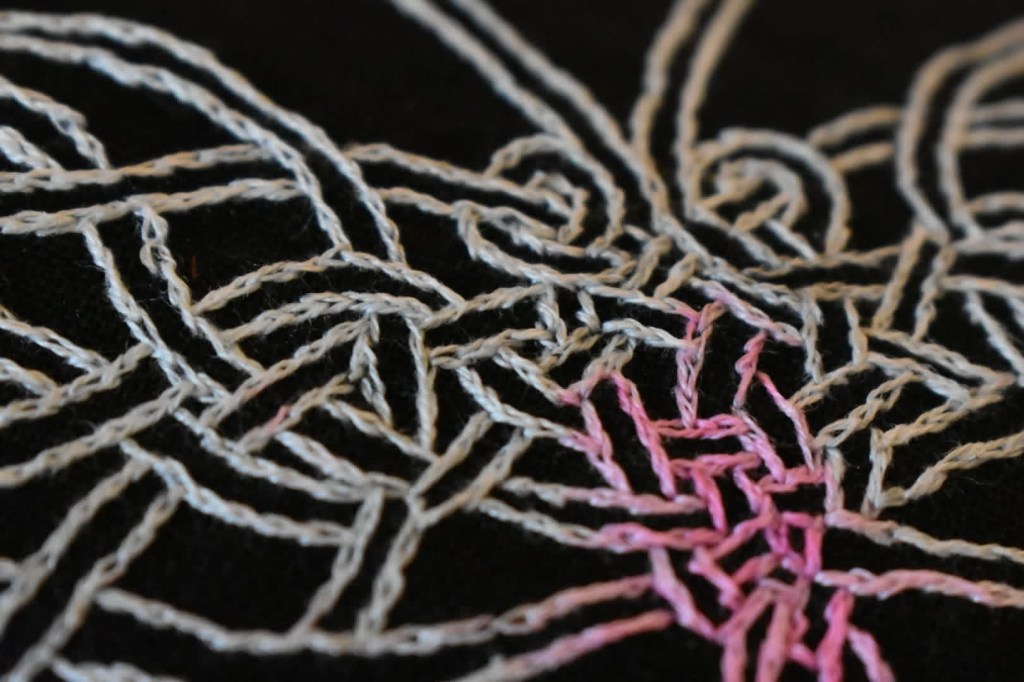
At this point, I had invested too much time, I was out of washable interfacing, and I was working on a deadline to finish the pouches in time for the event. This pouch was therefore an exercise in accepting that the finished piece did not match my vision, but that was ok and it was still a beautiful piece. And a lesson in not ever using sharpie again!
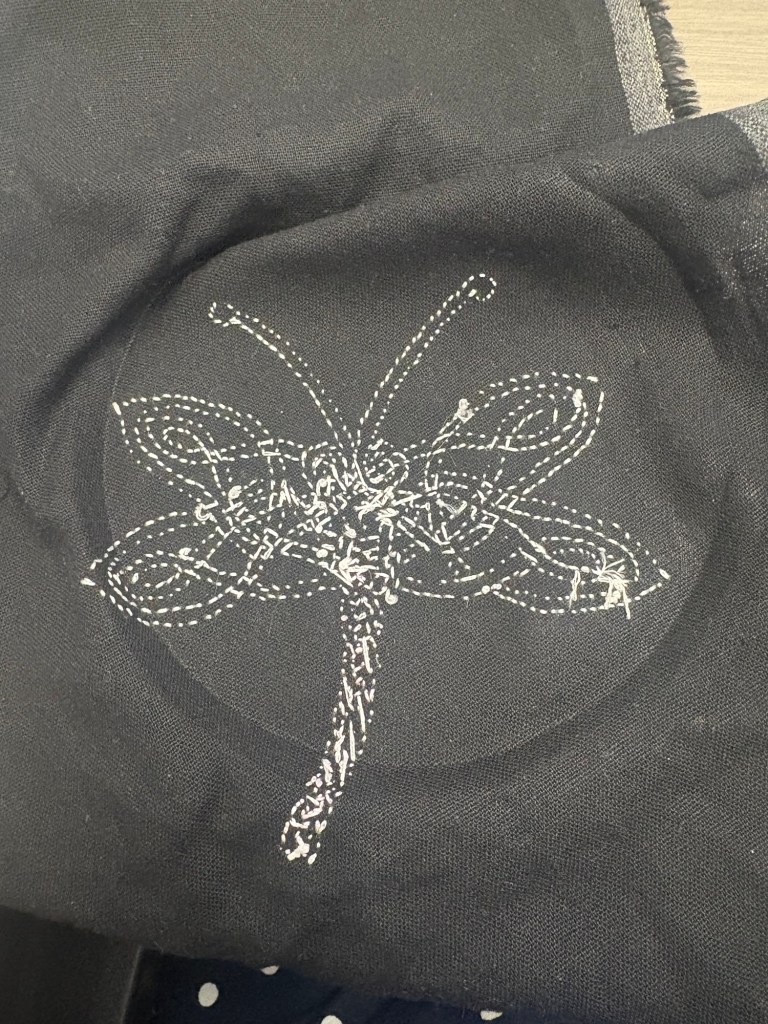
I think in the end, my favorite part of this piece was the back, the little white stitches looked like stars against the black linen. If I had to redo this, I would increase the size of the dragonfly so that the knotwork was a bit bigger and easier to follow!
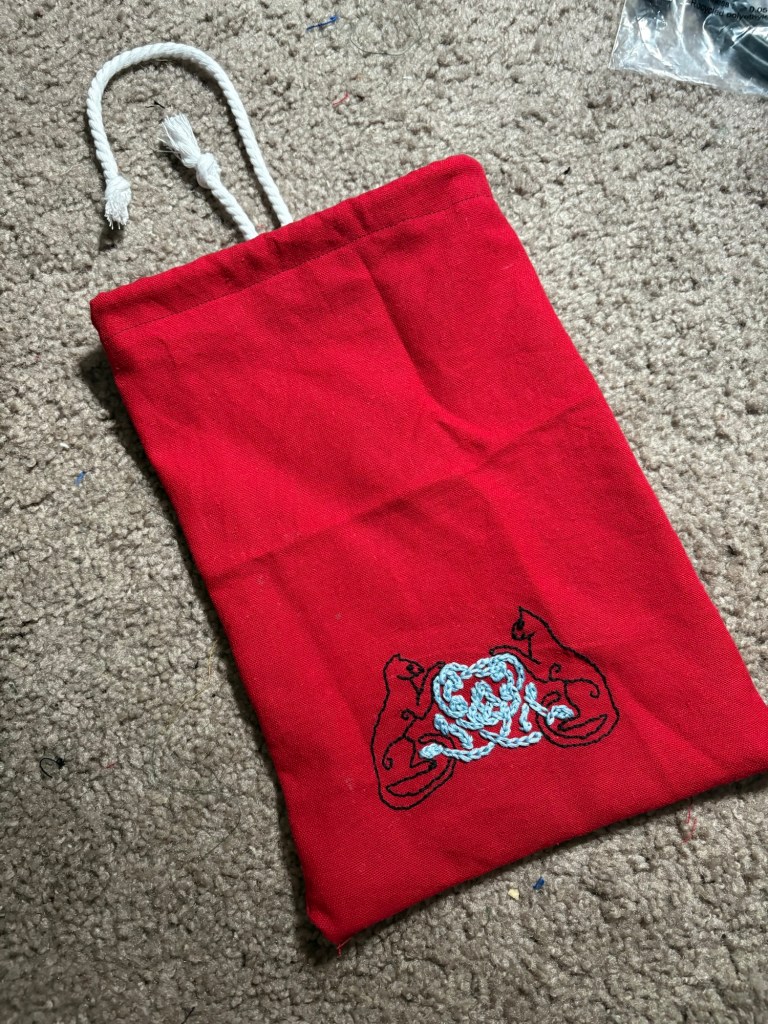
The second pouch features two cats playing with a tangled ball of yarn, with the yarn forming a celtic knot. My vision for this piece was to have the yarn embroidery be thick and tactile to really give the impression of tangled yarn. I outlined the cats using the Holbein stitch.
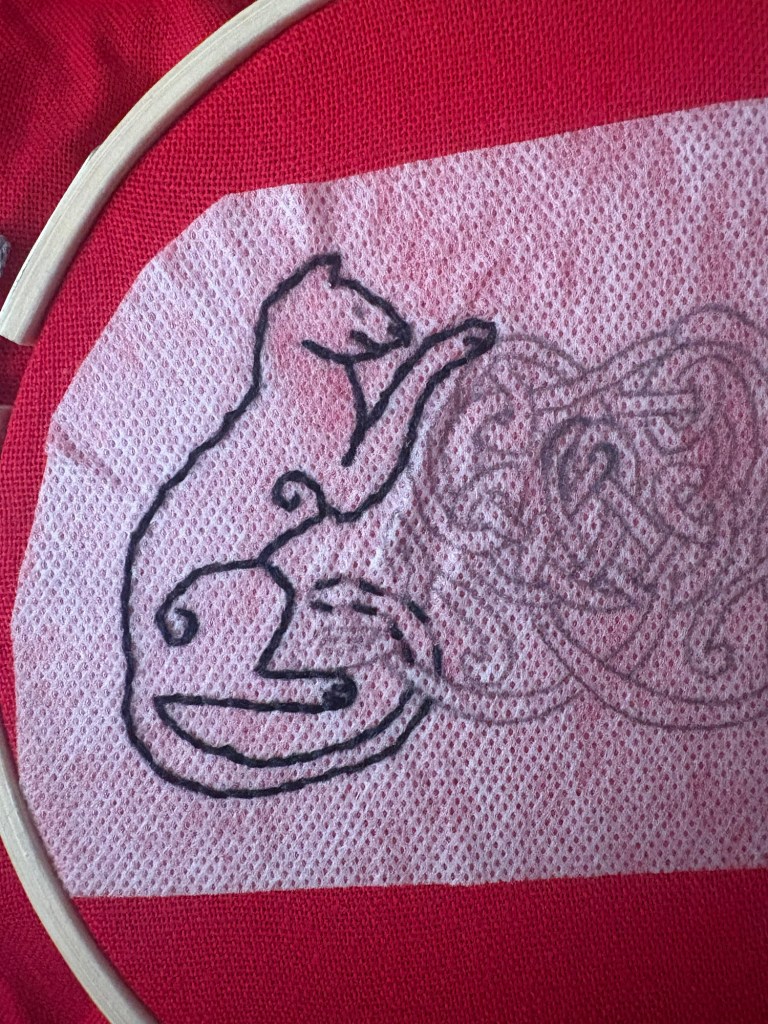
I’m not thrilled with how the cats turned out, but when compared to extant drawings of cats, I think some humans just are not meant to draw animals, and I am one of those humans! I used French knots (my mortal enemy) for the eyes and I hate how they turned out. I committed though and moved on to the yarn portion.
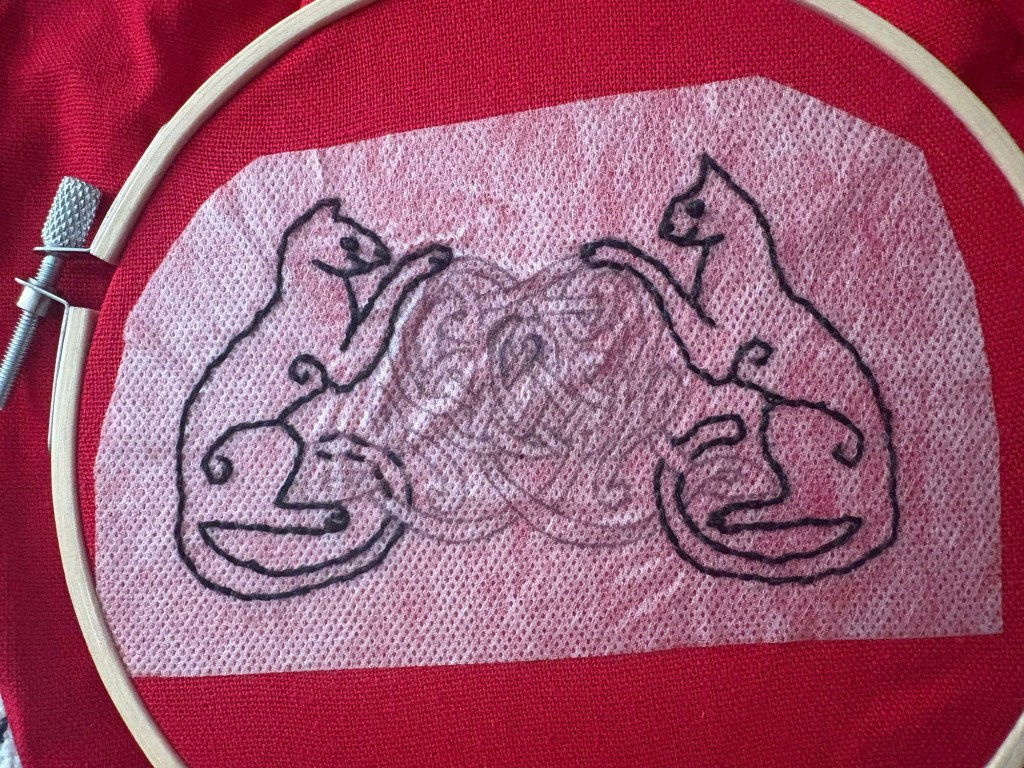
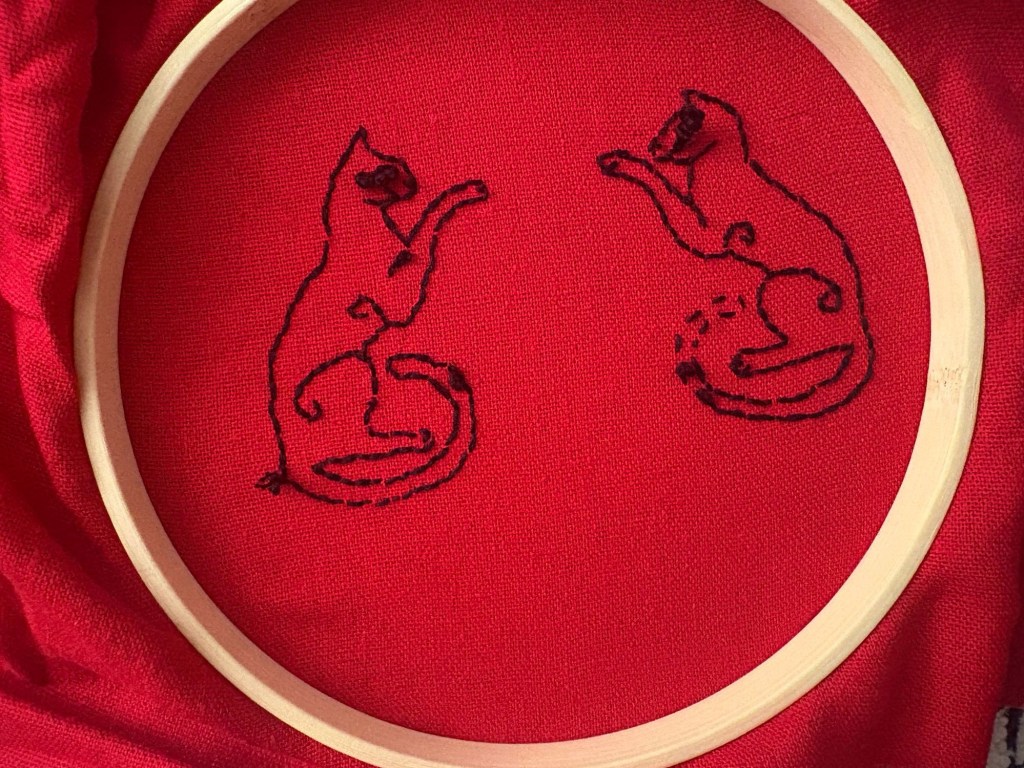
I decided to use all 6 strands of embroidery floss, and used the chain stitch to make the knot.
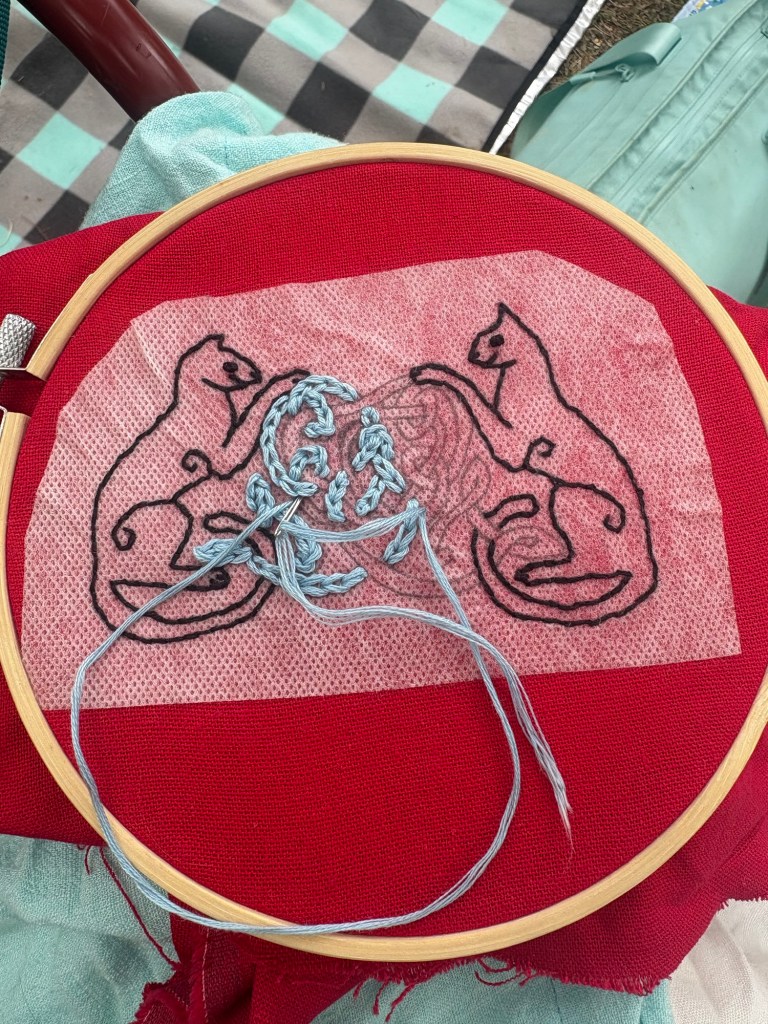
The chain stitch is a fun, though slightly tricky stitch to do. To start, you bring the needle up through the fabric, and then down again in the same hole. Before you fully tighten the stitch, you bring your needle back up in the middle of the loop, and then you tighten it down to secure the loop. You proceed that way, making a series of interlocked loops. The danger with the chain stitch is that if your thread tangles or breaks before you secure it with a knot on the back, you can lose all the stitches you’ve done because they’re all interconnected! I recommend doing short sections of the chain stitch, and securing it with a knot at regular intervals on the back.
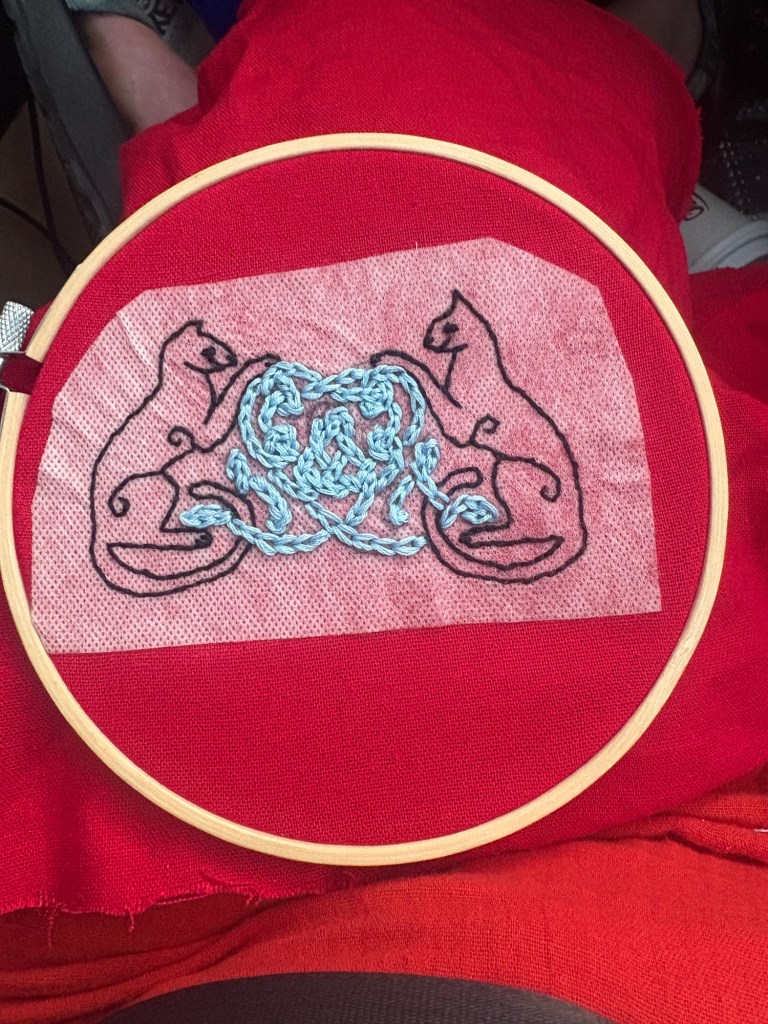
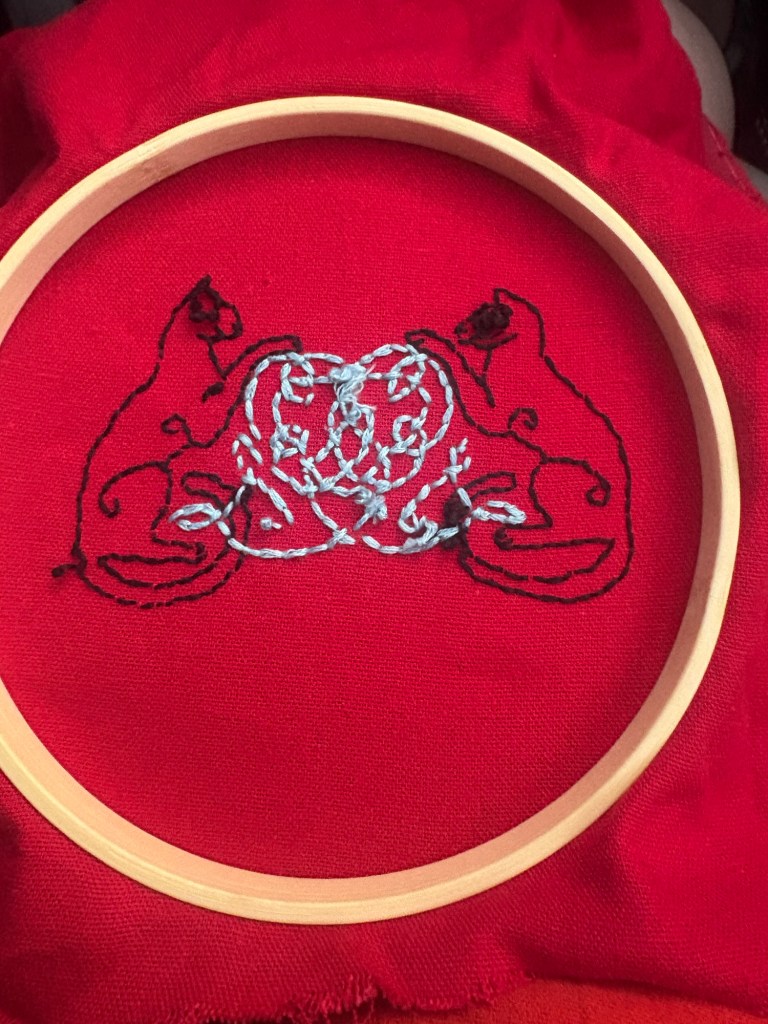
I enjoy the chain stitch because it’s so visually appealing, and I think it lends itself well to the chunkiness that I was going for with the yarn. It didn’t keep the crispness of the knotwork, but I think that’s ok. You can feel the knot as you run your fingers over it, and that was my real goal.
Once the embroidery was finished, it was time to make them into pouches! I wanted these to be very sturdy, made for hard use and lots of wear and tear, so I decided to finish my seams. I used the French seam method again, just because it’s the quickest and easiest one for me.
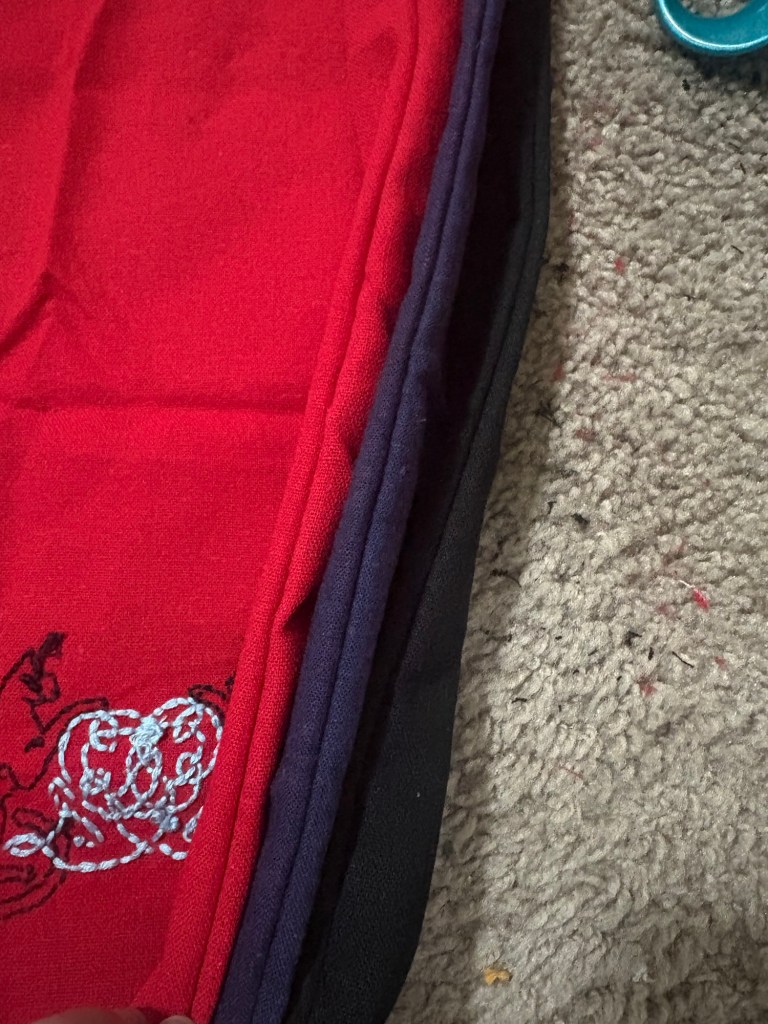
Once the bag was formed, I measured out where the drawstring would come out, and very carefully cut 2 holes for the ends. I did a quick buttonhole stitch around the holes, threaded the drawstring, and finished the top of the pouch.
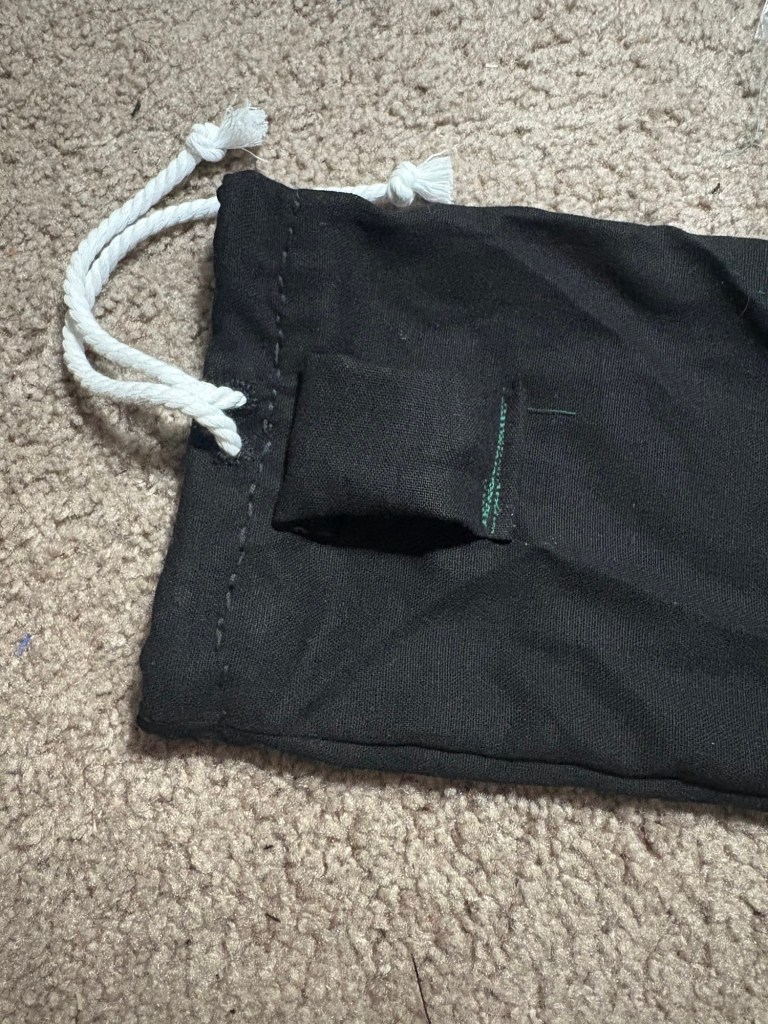
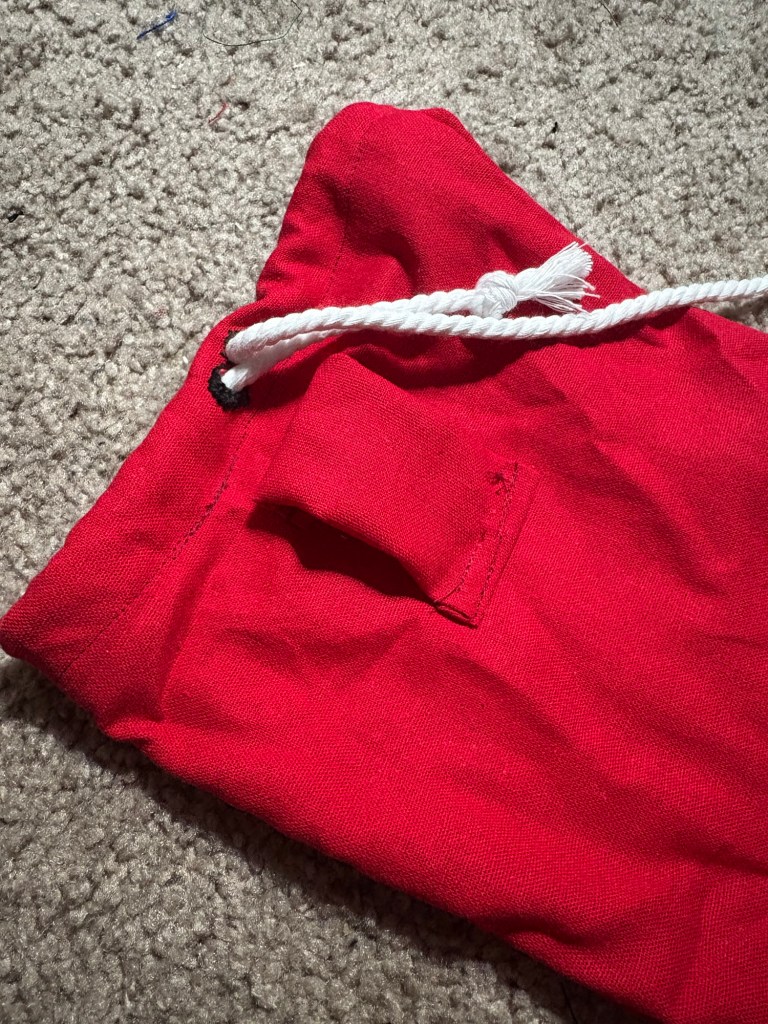
Then I used some scrap fabric to make the belt loop. I sewed a loop of fabric, flipped it so the raw edge was on the inside, and then stitched it onto the back of the pouch. The important thing when sewing the loops is to absolutely ensure that you are only sewing one layer of the pouch! Otherwise you will have to carefully rip out the stitches and hope the front of the pouch with the embroidery on it wasn’t damaged. (I unfortunately speak from experience here!) It’s also important to keep enough slack in the belt loops to make them usable. Belts come in a variety of widths, but I use 3 fingers plus a little slack and that’s usually a good measurement. And there you have a functional belt pouch!
These pouches have found homes with the fighters that selected them as prizes, and I hope they’re used and enjoyed for a long time to come!

