Drafting a Pattern for a Kirtle
10 July 2026
Well I’ve officially caught the sewing bug now cause I’m back at it again. Sewing is much faster than embroidery, so these updates come much quicker too. That might inspire me to sew more just so I can make more blog posts! This time I drafted a pattern and made a kirtle.
A brief historical interlude
This pattern isn’t terribly historically accurate. I would very technically describe this as a sleeveless front lacing kirtle, and I would date it to like vaguely the 1600s generally European peasant (if you squint). If it was a proper English Tudor era kirtle, the bodice would be stiffened, it would close more tightly, and the skirt would not be open. Kirtles in period were also supportive garments, they gave the figure shape. My kirtle absolutely doesn’t do this. As for the color of the fabric, though life was just as colorful as it is today, I don’t think a peasant would be wearing this specific shade of blue. You could achieve this color with woad/indigo, or red cabbage, though this shade and vividness would take great skill. I am not familiar with historical dyes (yet) so take this with a grain of salt. There are many excellent blogs from people who experiment with natural historical dyes.
Ok so back to the actual sewing process. Walk with me through my thought process on dresses specifically. Now, in real life, I’m a biologist. A lot of the way I think comes from thinking about evolution and how things change over the years. Mentally, I have a rough phylogenetic tree for how dresses evolved. You start out with some of the oldest dresses, chitons; these are essentially tubes of fabric that are pinned at the shoulders. These were popular 1200 BCE-600 CE Then you add sleeves, and these are basically t-tunics, so now we’re around 800-1000 CE. Lengthen the sleeves, tighten the bodice, you have a cotehardie and we’re in the late middle ages, roughly 1300-1500 CE. Cut off the sleeves but leave the straps and you have a kirtle, maybe 1400-1600s. Expand the skirts and add elaborate sleeves, you’ve got the gowns of the Rococo era in the 1700s. These flow into the Victorian gowns, which narrow into Edwardian, which shorten to 1920s flapper dresses, and then you’re practically in the modern era! Do you see the rough evolutionary flow chart or am I just a little crazy? Either way, elements of antiquity exist all around us if you just know how to look to see them.
Anyway, I recently bought a dress from Old Navy that I could describe as a modern kirtle. It’s got a square neckline, it’s made from 6 panels, and uses shirring on the back panels to give the dress some shape. After wearing it all day, I got home, took it off, laid it on the floor, and really looked at it.
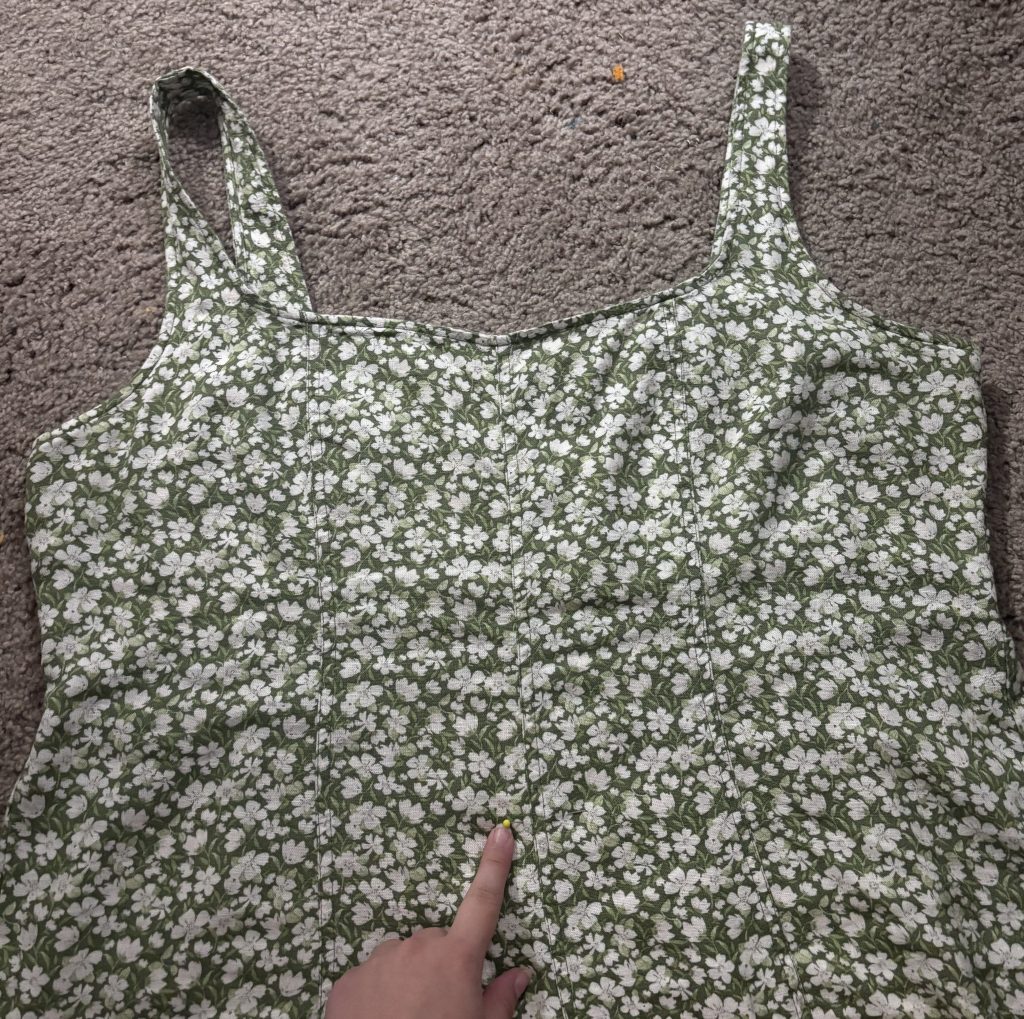
What I see is that I can combine the back panels into one, and combine the 4 front panels into 2, using the front seam to give me a good guideline and a point for symmetry. I put a pin in to mark my rough natural waist. Now this dress is a good candidate for patterning off of because the material is not stretchy. This means that the rough measurements of the dress are basically the measurements for my body. The only place that gives stretch is the shirring on the back. So I grabbed an old top sheet and cut out my bodice pattern.
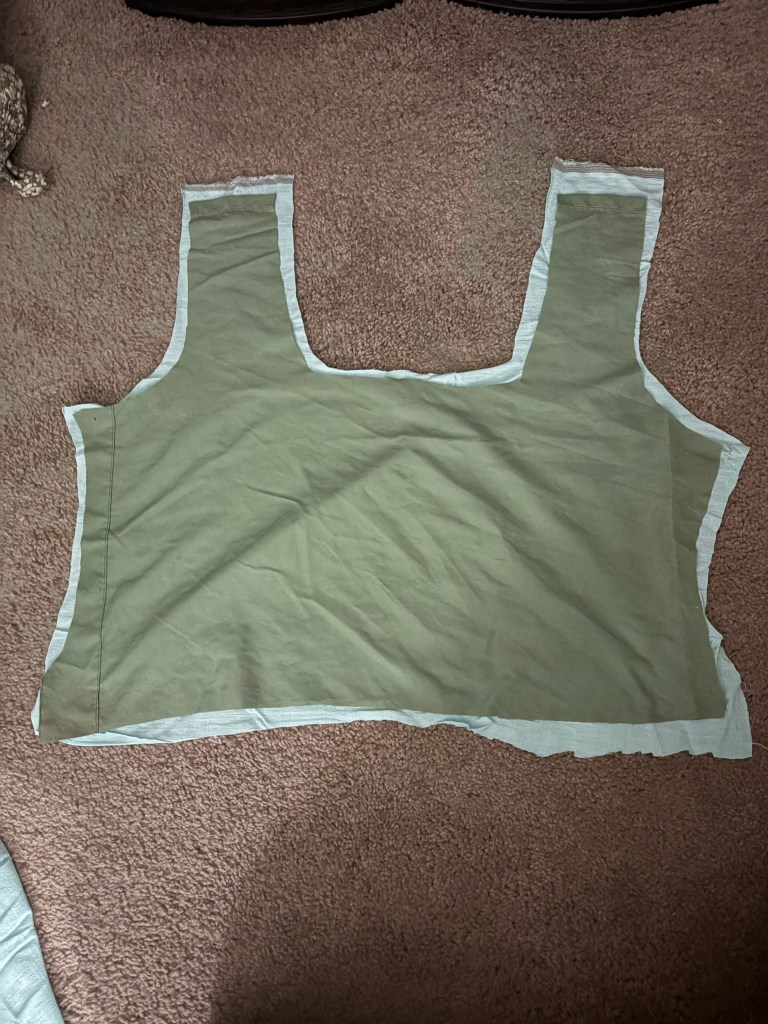
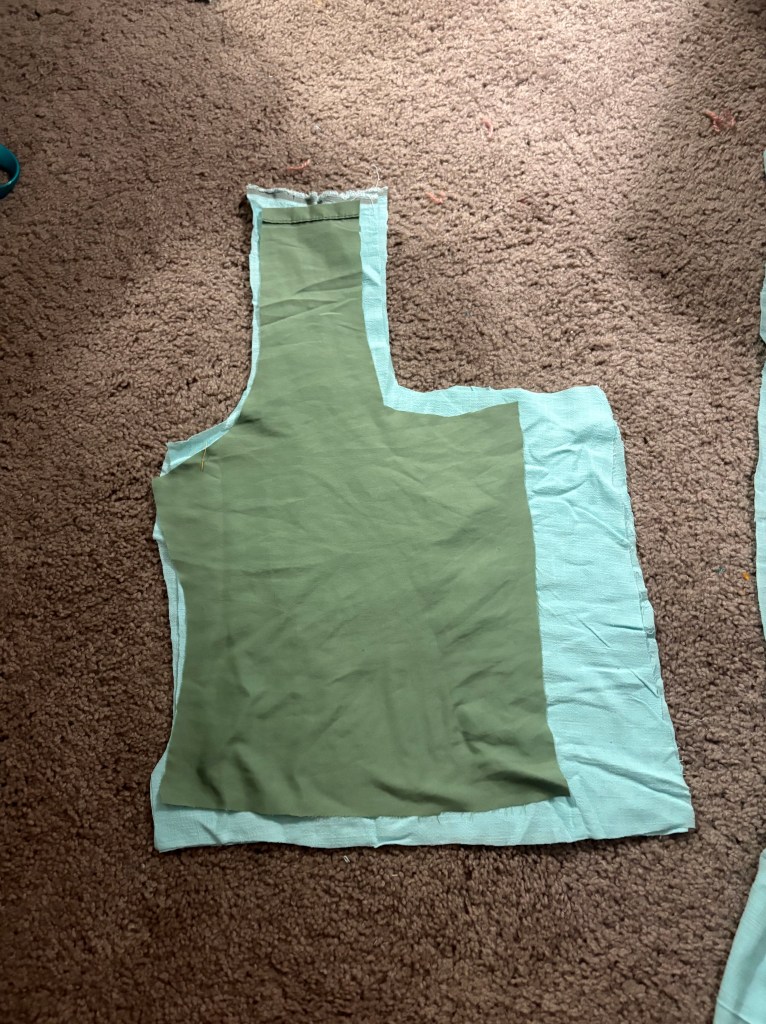
I pinned the sides and straps together and tried it on. It fit small, because the shirring on the back gives maybe 2-3 inches of additional room. The proportions on everything else are really good though, so I moved straight to my actual fabric. I doubled the fabric to ensure the two front bodice pieces were symmetrical, and added maybe 2 inches to the middle (note that I didn’t actually measure this, it’s all eyeballing). I also added my seam allowance, which is generally the first joint of my pointer finger. You can see that I forgot to add my seam allowance in some areas, but it didn’t impact the final fit. I sewed up the sides and straps and tried it on.


It works pretty well, so I finished the raw edges around the arm and neck. Now to add the skirt!
I took the rest of my fabric and folded it in half to find the middle. I marked that with a pin, found the middle on the back of the bodice, and pinned the skirt to the bodice. I also pinned the edge of the skirt to the edges of the bodice. At this stage, you really need to pay close attention to which side of the bodice you’re pinning to, and ensure that you’re pinning to the inside. Otherwise, you’ll have to redo everything and you’ll be really unhappy. I kept finding the middle of the fabric and pinning to the bodice, so the section to the left and right got pinned along the side seams.
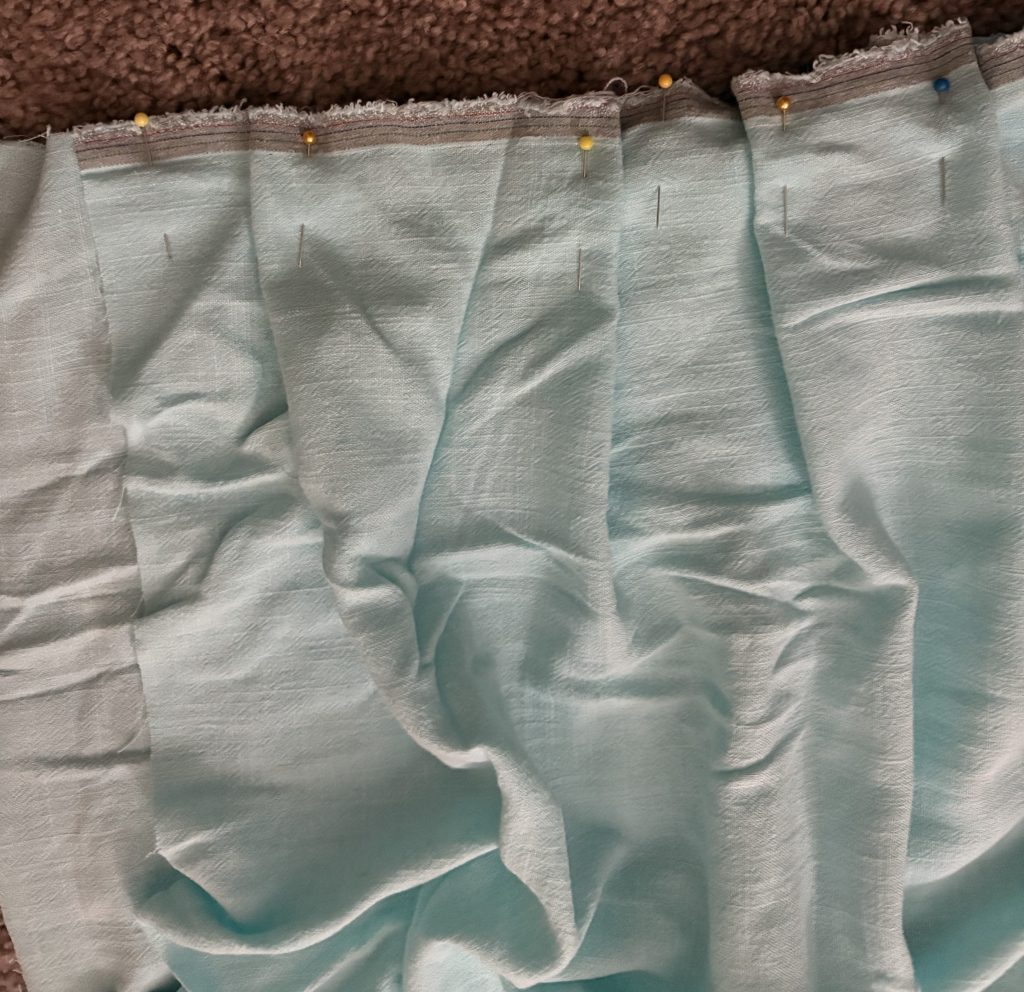
Then I added some knife pleats with the excess loose fabric between my pins so that the skirt matched the width of the bodice. I’ve found that pleats like to be pinned up and down in the same direction as the pleat. It keeps things neater, and makes trying on less dangerous. After I made all my pleats, I tried on the kirtle.
I noticed that the weight of the skirt pulls the back of the bodice down so that it sits near my hips, which isn’t the look I’m going for. To solve this, I marked the center of my natural waist on the back with a pin, and moved the skirt to meet that pin in the back. I gradually moved all the pinned pleats so it formed an arc along the back of the bodice.
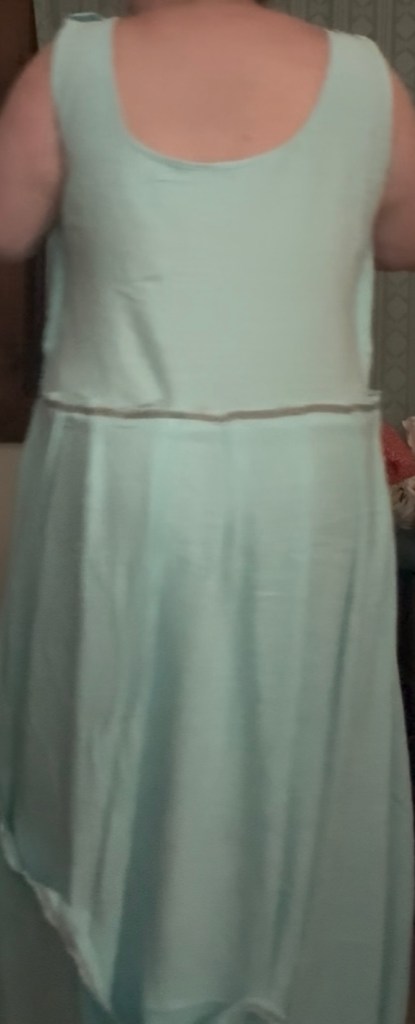

I tried it on again and was pleased with where the skirt sat, so I sewed the skirt to the bodice. Then I eyeballed where my hem should rest, trimmed the excess fabric, and hemmed the bottom edge of the skirt. I also hemmed the middle section of the skirt, but left the middle bodice untouched. From looking at the original Old Navy dress to this point took me about 3 hours, which is really fast, especially because this is a new pattern for me. Other iterations of this dress will go much quicker, which is exciting! I confess I procrastinated on finishing the front closure of the bodice for about 2 days.
There are a few options here for the bodice. I would like it to close and have maybe a half to full inch gap. I could poke holes and make buttonholes using my trusty buttonhole stitch, or I could “cheat” and do grommets. While wearing the kirtle, I folded back the excess fabric and pinned it, folding the raw edge under again to finish it. I stitched that down, and then marked with pins to show where I wanted the buttonholes to be. Now I 100% intended to sew the buttonholes by hand, thus the procrastination. However I marked with pins and realized I would have to do 13 buttonholes, and that is simply too many for me. Grommets it is! I will eventually cover the grommets with a buttonhole stitch, I just need to get embroidery floss in the correct color to match the fabric better.
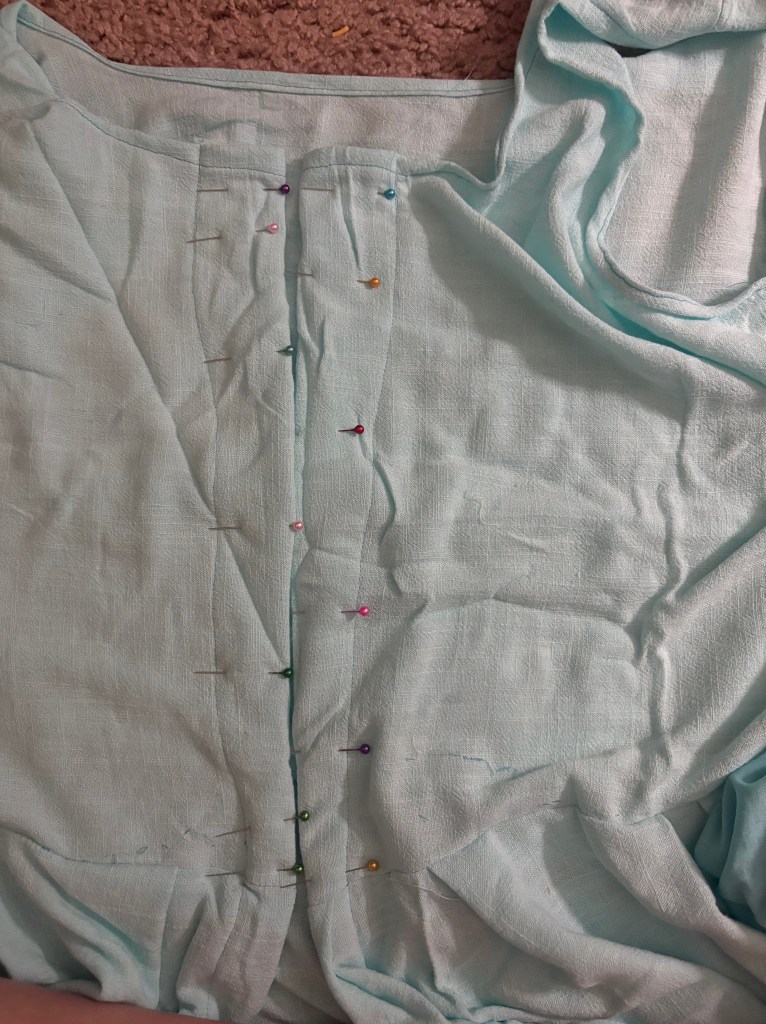
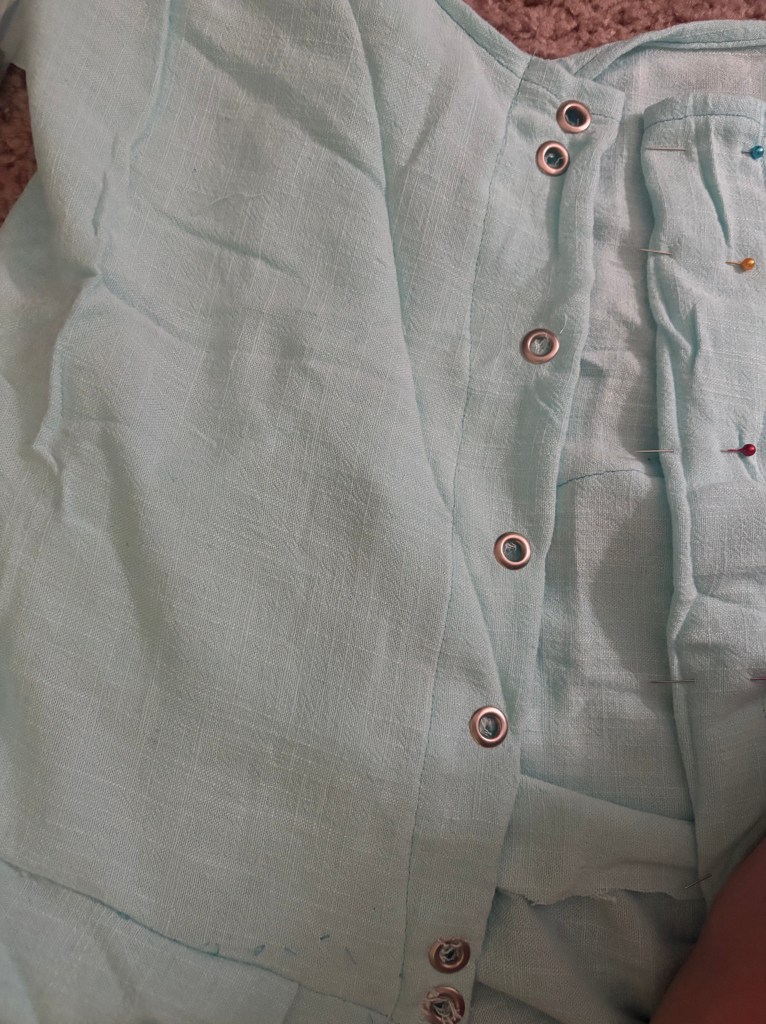
I did spiral lacing, because it’s more historically accurate, and I’d never done spiral lacing before. I like the look, but I think this specific kirtle would have looked better with a more corset style lacing.
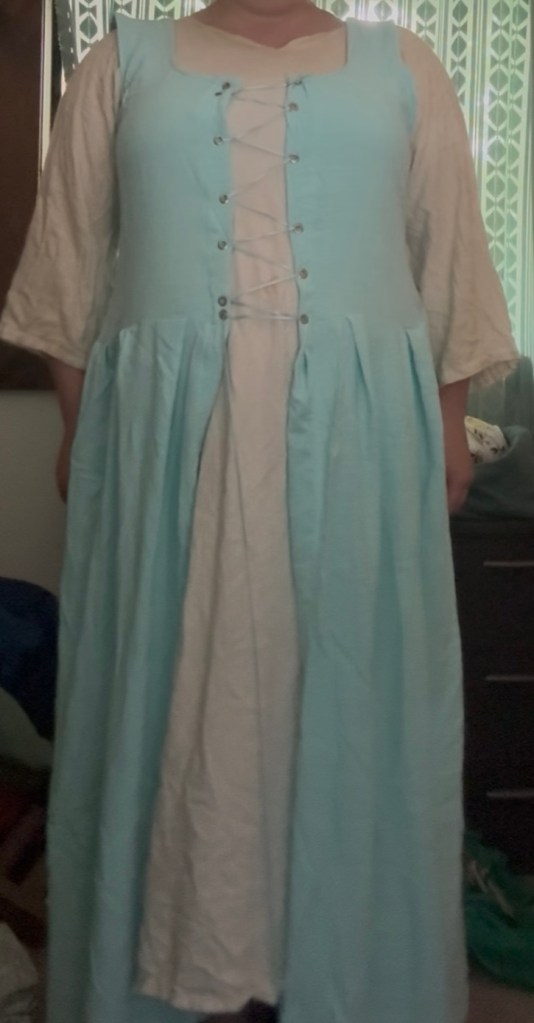
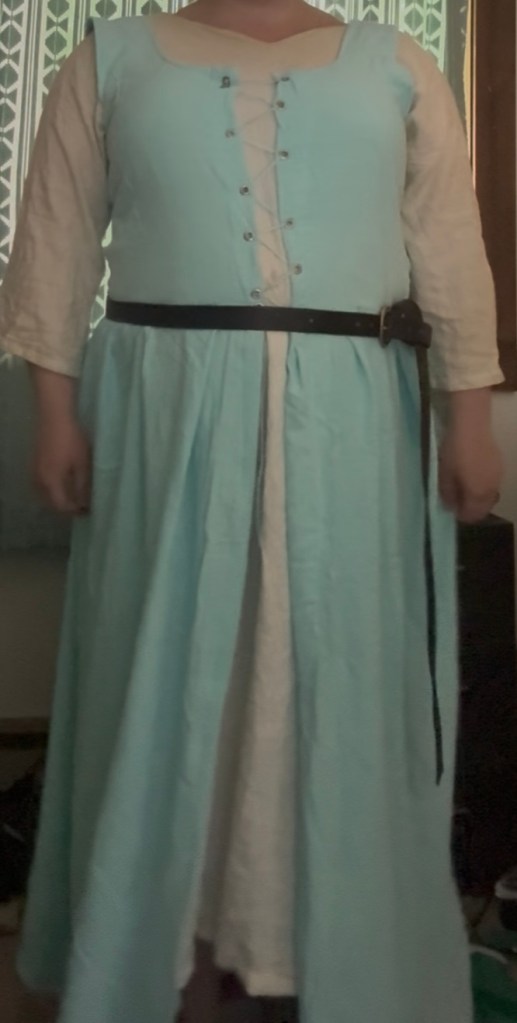

I threaded a ribbon through my buttonholes, and that’s the finished kirtle! It needs a thicker ribbon, but I was at Walmart and this was the best of the options. I’m still mourning Joann’s, but I will eventually source a better ribbon. I’m rather pleased with the finished product, and immediately set to making another one out of an old sari.


Leave a Reply