Forget-Me-Not Stumpwork Flowers
01 July 2026
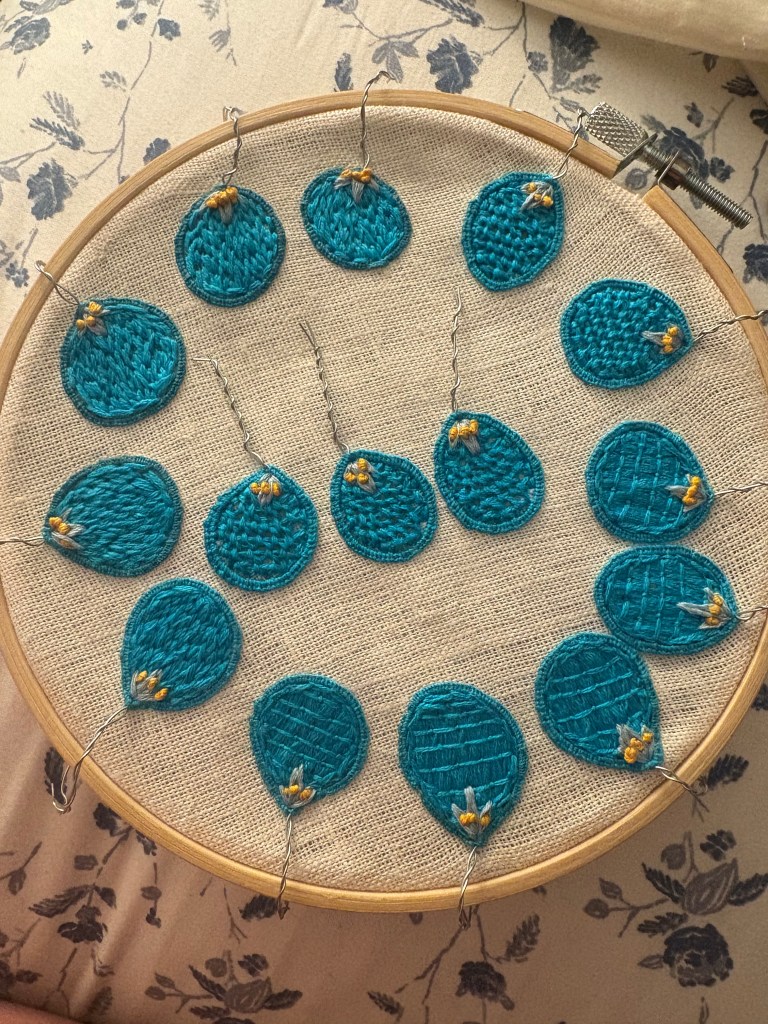
Ok I couldn’t stay away. I finished 3 adorable little forget-me-not flowers! I used a different fill method on each one and I continued to experiment with new stitches to see which ones I like best for this project.
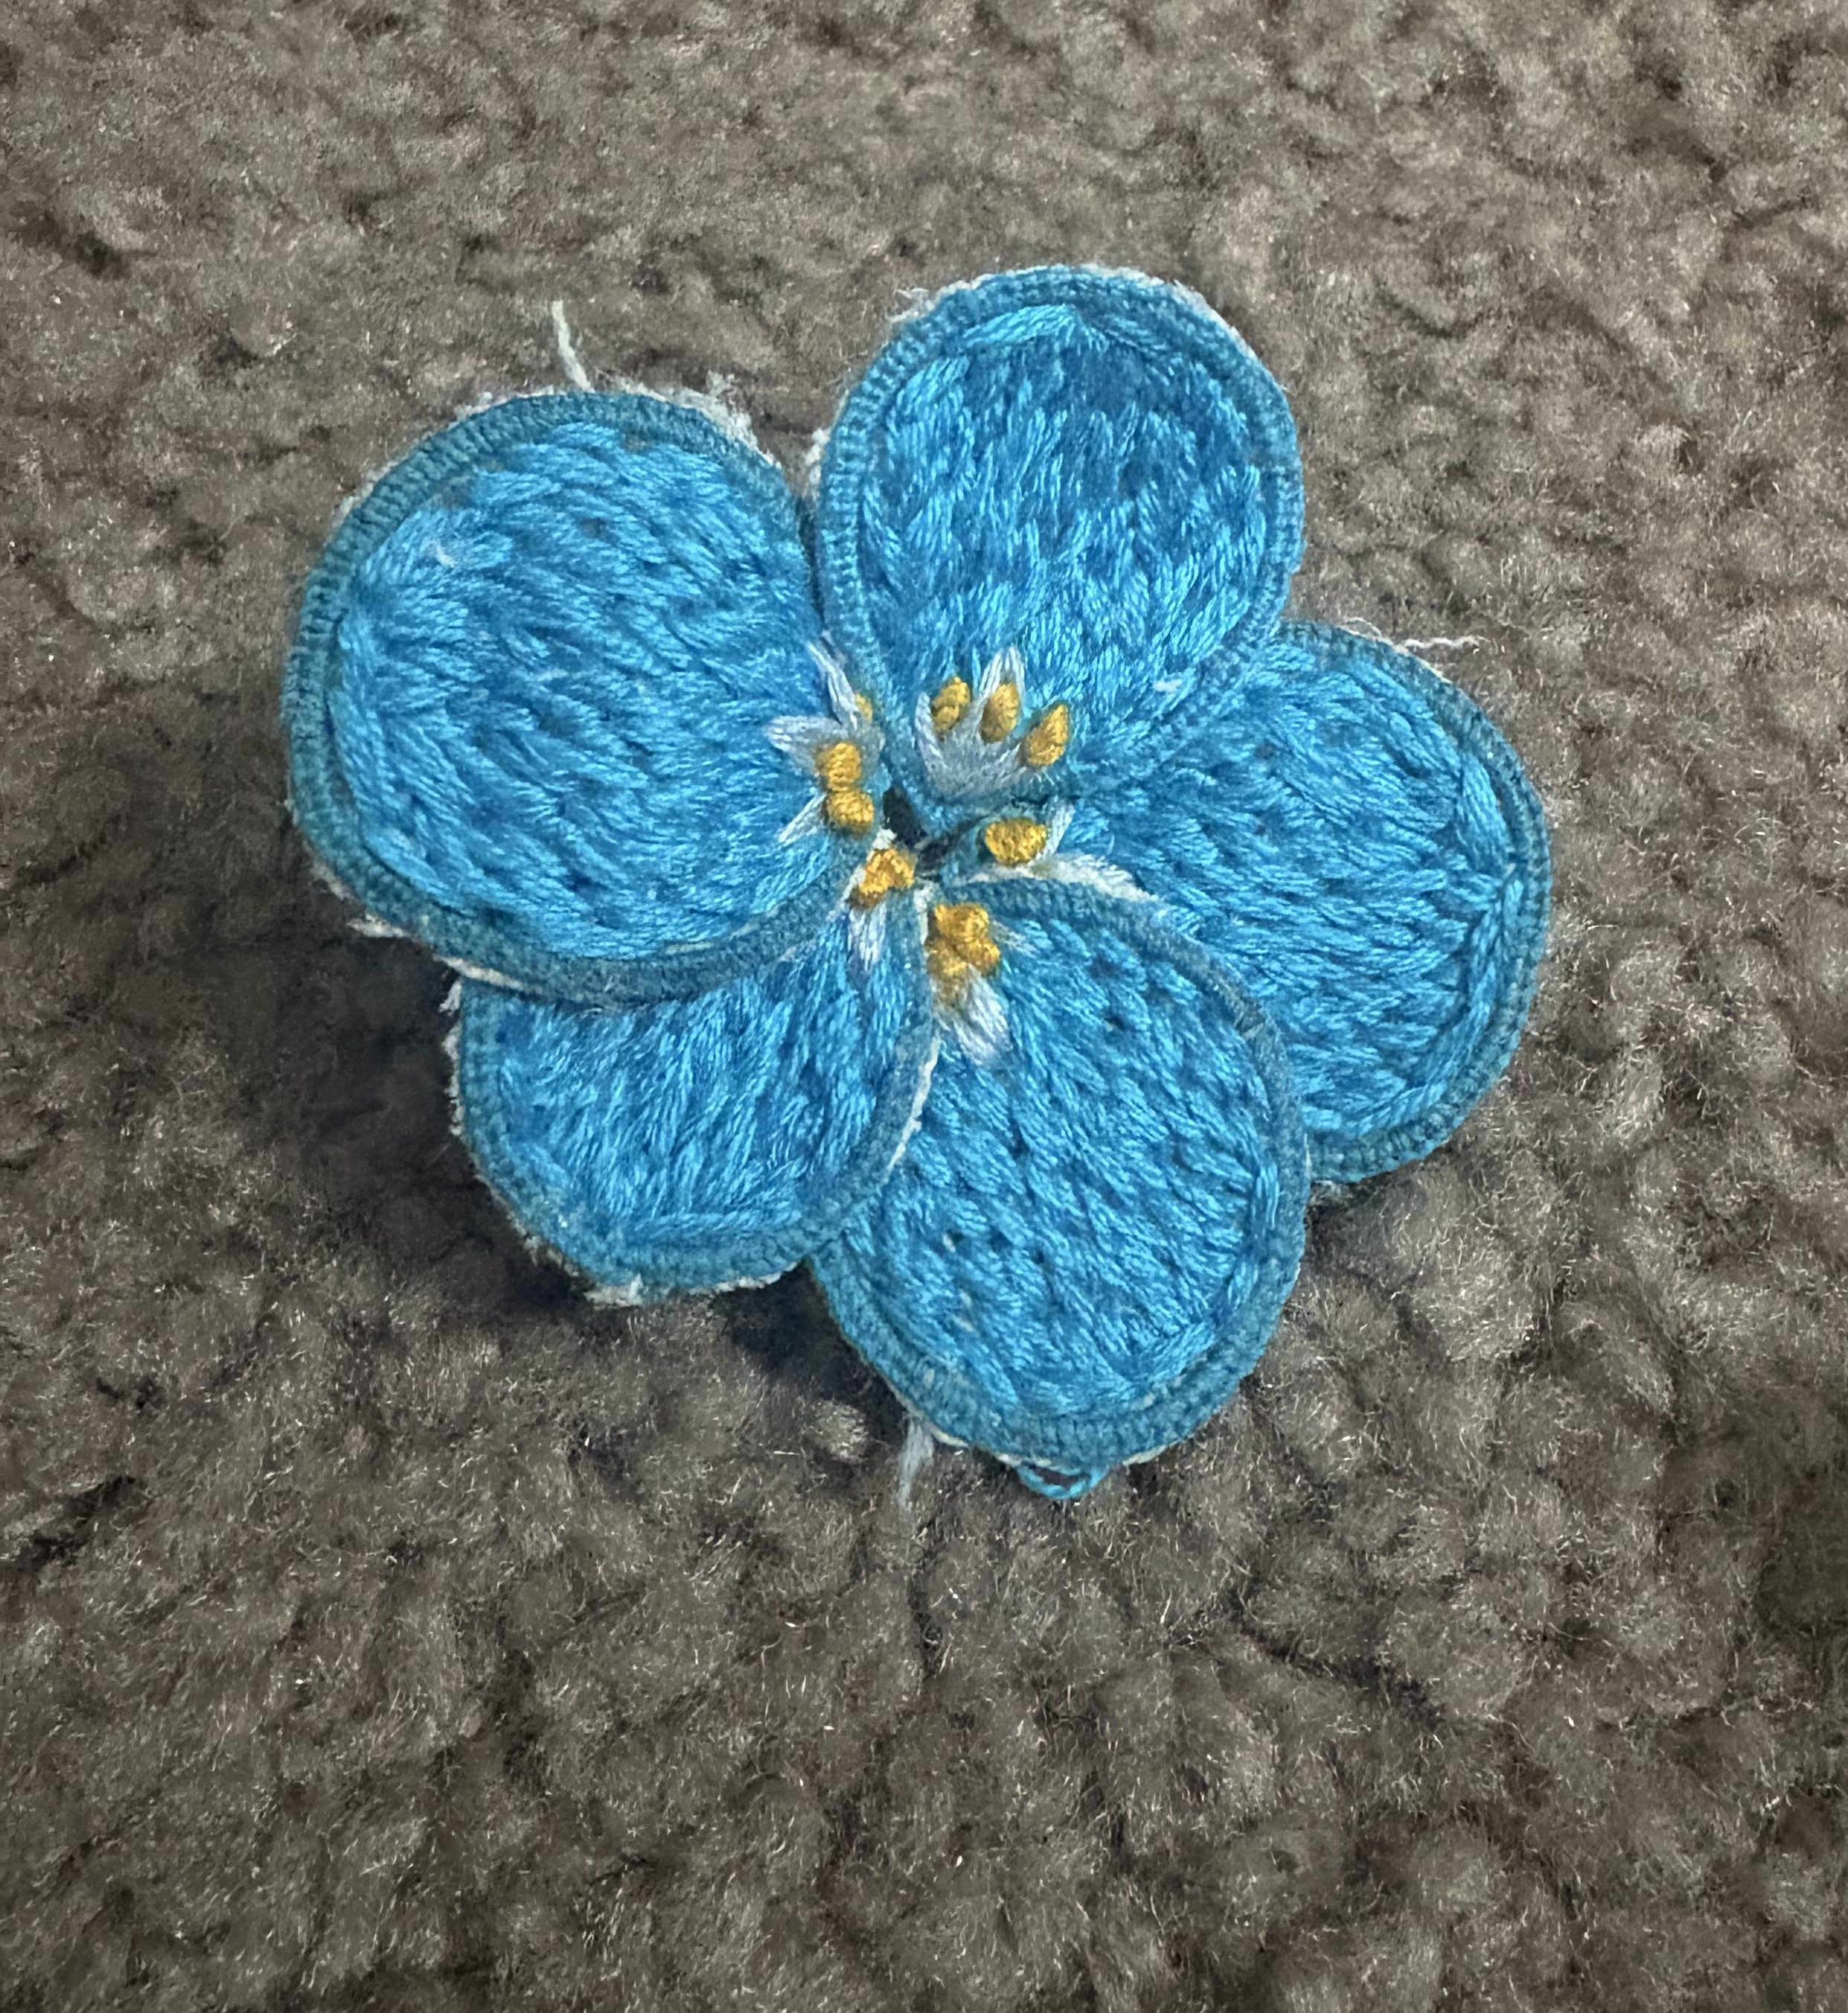
The first flower is filled with long and short (frankly mostly just short….) stitches. This is exactly how I did my original proof of concept petal, and I do like it! The drawbacks are that it takes a long time, and it’s kind of boring. It also doesn’t give the neatest look on the back, and it’s pretty easy for the string to get tangled. But I think it holds up the best to the bending and freeform motion that this project exemplifies, so it might wind up being one of the go to stitches for future flowers.
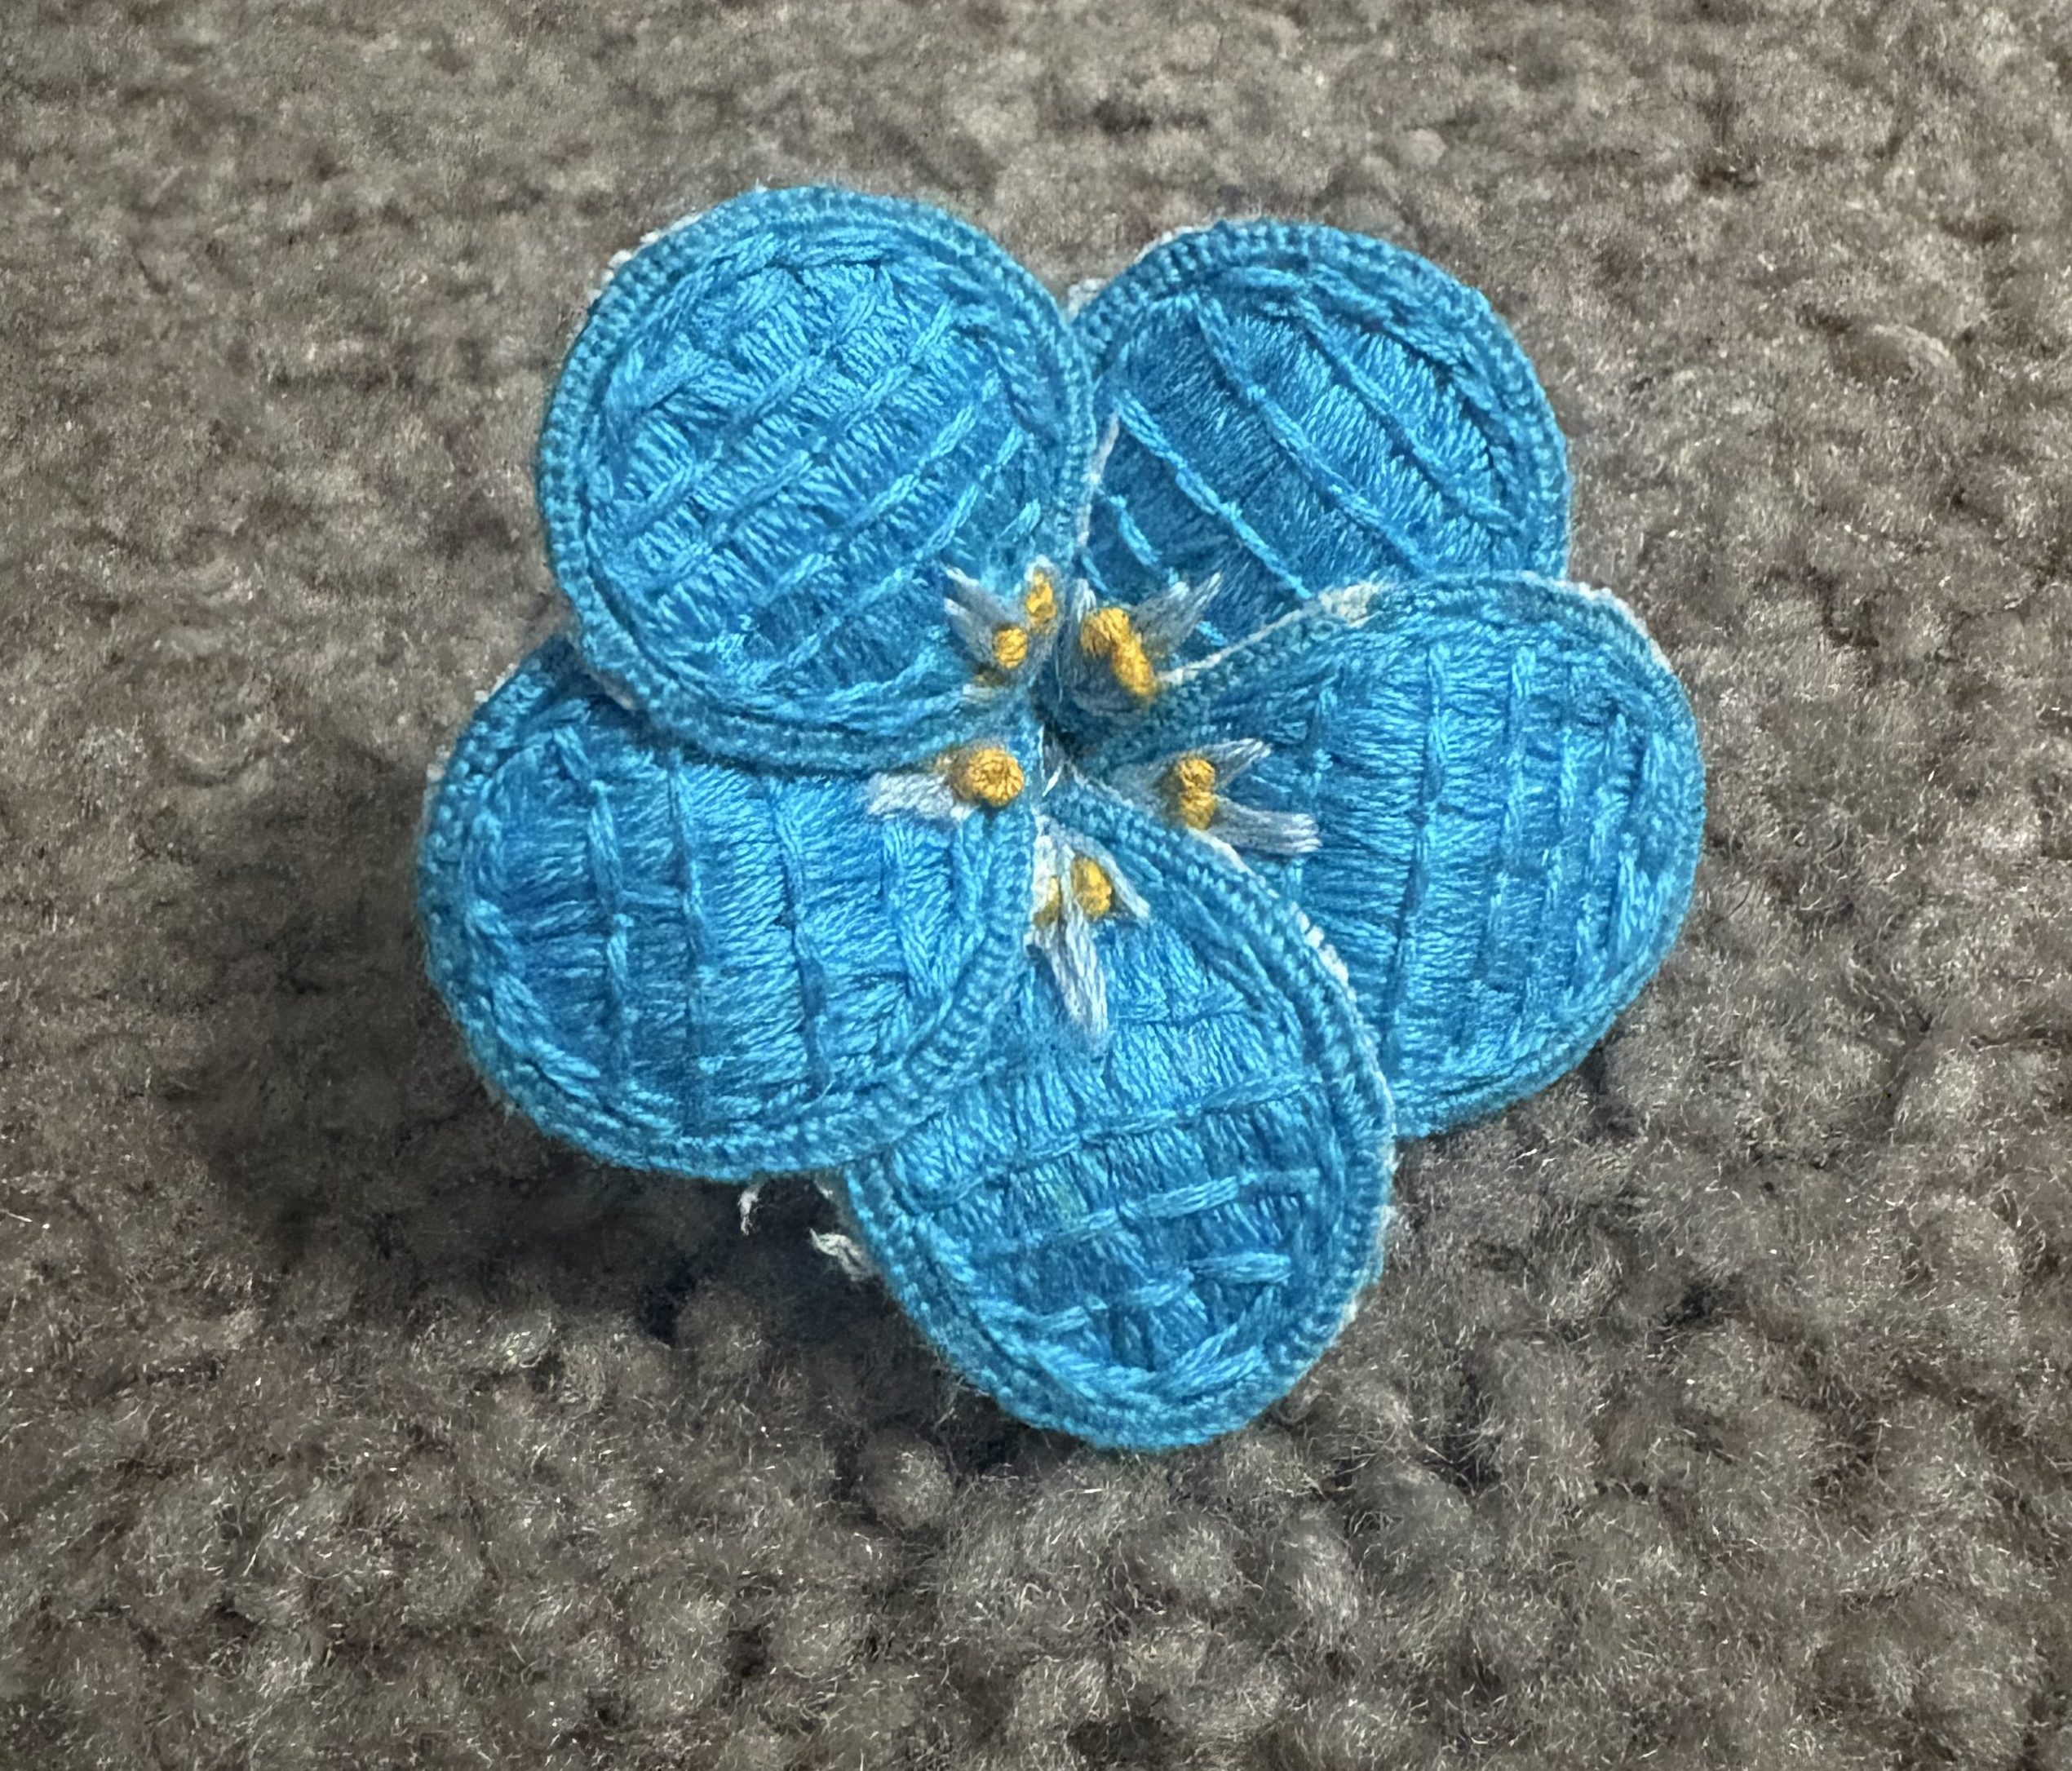
For the second flower I returned to couching and the Bayeux stitch. I am not going to lie, I absolutely love couching. I did it the normal way this time and used the thread saving satin stitch. I just adore satin stitches, they feel so nice and smooth, and the narrow couching looks SO pretty. I used 6 strands for the satin stitches and 3 for the couching stitches, like I did for the first flower. Though I enjoy couching a lot, I don’t think it’s right for this project. I’ve noticed on the bigger flower, the couching stitches hold down the satin stitches effectively when it’s flat, but they don’t do it perfectly when the fabric is bent. Sadly bending is kind of a main theme for this project! I will say that the stitching held far better on this smaller flower, so I will likely continue to use the Bayeux stitch throughout the rest of this project. I just love it too much. Couching has actually been tempting me to restart projects that are like halfway done because I know it’ll be easier and faster. I’m resisting but it’s HARD!

The third flower is the new stitch! For this one, I used the corded detached buttonhole stitch. The Royal School of Needlework stitch bank also calls this stitch the single corded brussels stitch. I was nervous to use this stitch because a lot of the example videos and tutorials show it on a square shape, and the flower petals are irregular. This stitch feels similar to knitting or crochet, where you’re making loops that run through the loops above them. Now, as an aside, I just know there are knitters and crocheters out there reading this right now going “that’s not how that works,” please know that my grandma tried to teach me to do both knitting and crochet and I was a miserable failure. (Is it because Grandma is left-handed and I am right-handed? Perhaps.) Y’all work MAGIC with yarn and I genuinely do not know how. This stitch just feels like maybe I could do the same. Anyway, back to the corded detached buttonhole stitch. To start the stitch, I first outlined the petal with back stitches.
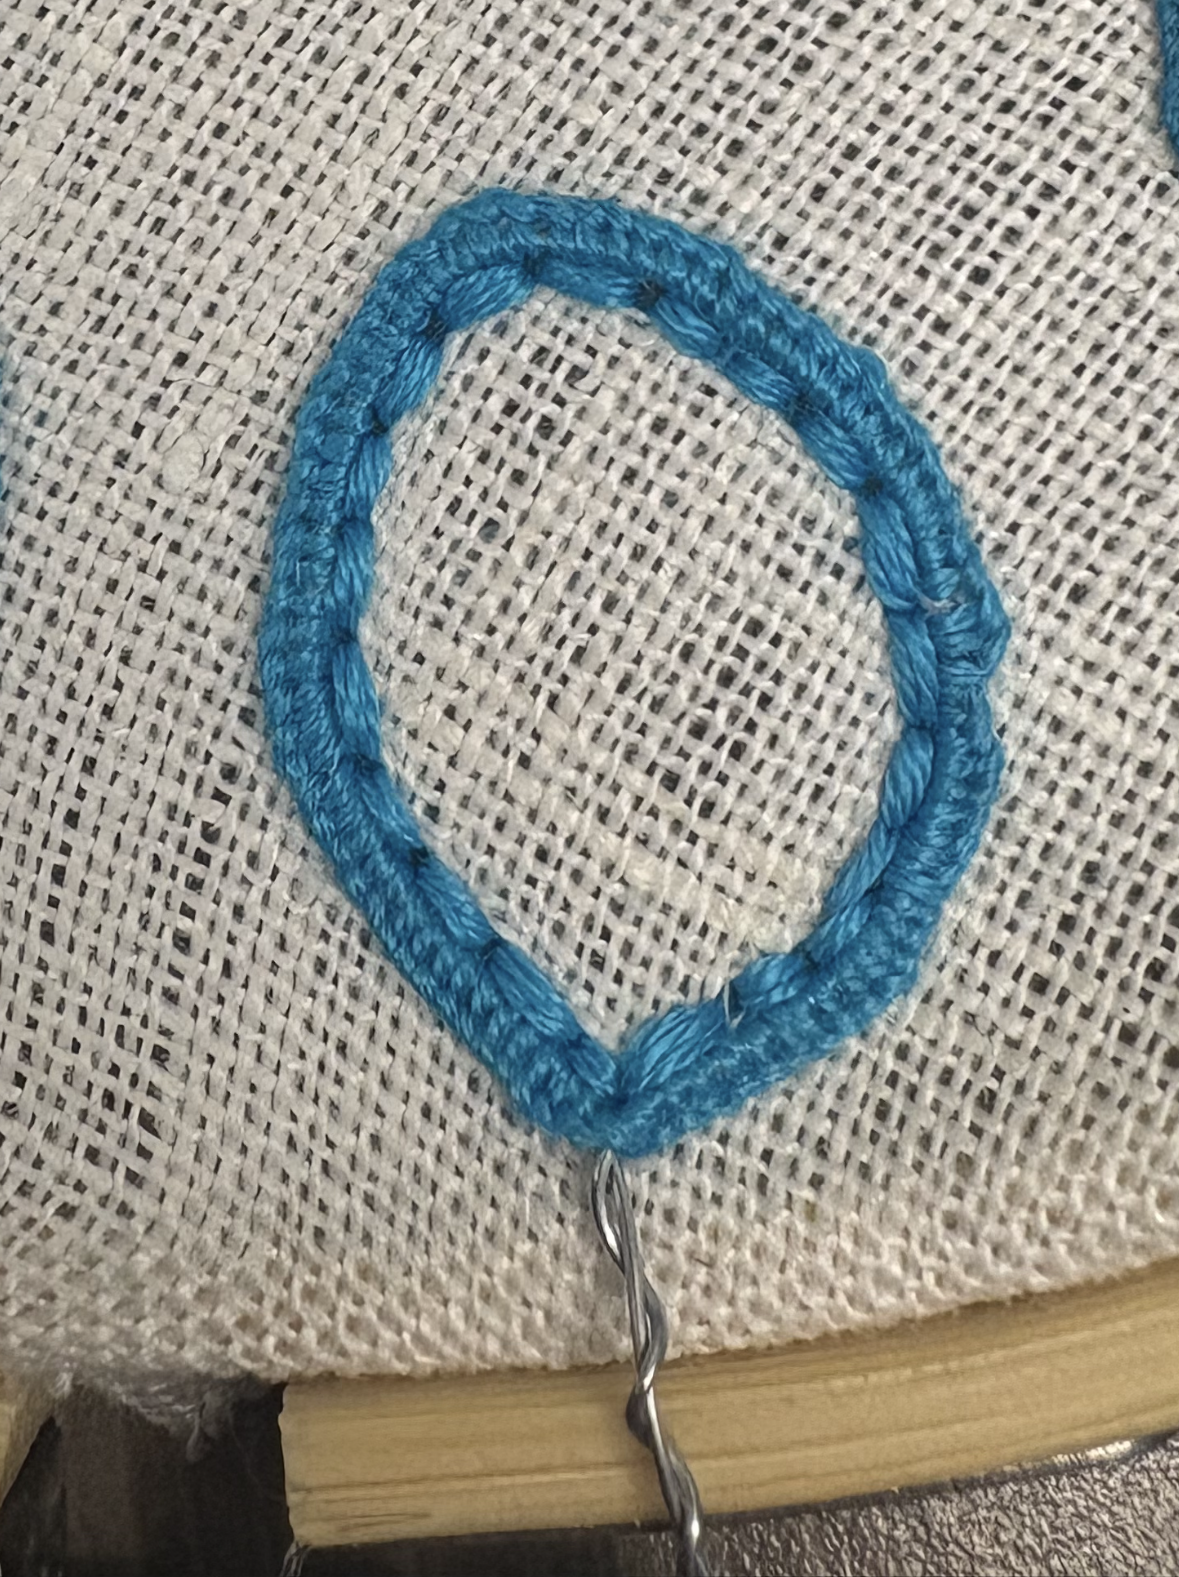
To add another aside, I hate back stitches. It’s so silly of me, but when I was 5 or 6 and first learning sewing basics from my grandma, this was one of the first stitches she tried to teach me. I got so frustrated because my stitch lengths weren’t even, and that made it really difficult to get the back stitching to look neat. She also was teaching me the “quick” method of backstitch where you weave your needle through the fabric (as opposed to the full pull through on the back and return to the front that I currently do). Grandma’s backstitch method is really optimal for sewing clothing, or anything where you aren’t working in an embroidery hoop. Now as an adult working in a hoop, I find that the slower method of back stitching really isn’t that bad. I might even enjoy it a little! Grandma will be thrilled.
Once the back stitches are finished, you lay a straight stitch across the piece (this is the cord part of the single corded brussels), and do a buttonhole stitch that loops into the top backstitch and the straight stitch. Then you lay another straight stitch down, and the next row of buttonhole stitches loops through the top buttonhole loops and the straight stitch. To add buttonhole stitches as the shape expands, you loop into the back stitches at the beginning and end of the rows. As the shape contracts, you can just drop loops. The stitch is really versatile, you can adjust the tension of the buttonhole stitch loops to make it more or less dense. I will also report that I personally had a lot of fun doing this stitch! I find that my thread has a tendency to tangle as it passes back and forth through the fabric. I think this is because I tend to twist my needle as I stitch, which makes the thread want to twist back on itself. Sometimes this catches and makes a knot if I don’t catch it soon enough. With the corded brussels stitch, the thread only passes through the fabric at the edges, so the potential for tangles is reduced by a lot.
I also found that as a fill stitch, the single corded brussels stitch was way faster than the previous two methods. The long and short stitches take the longest, about 45mins per petal (and these petals are fairly small!). Couching takes maybe 30mins, and the single corded brussels stitch takes 15-20mins. I assume that I will get faster at this stitch too, I was stitching between tasks so I wasn’t giving it my full attention.

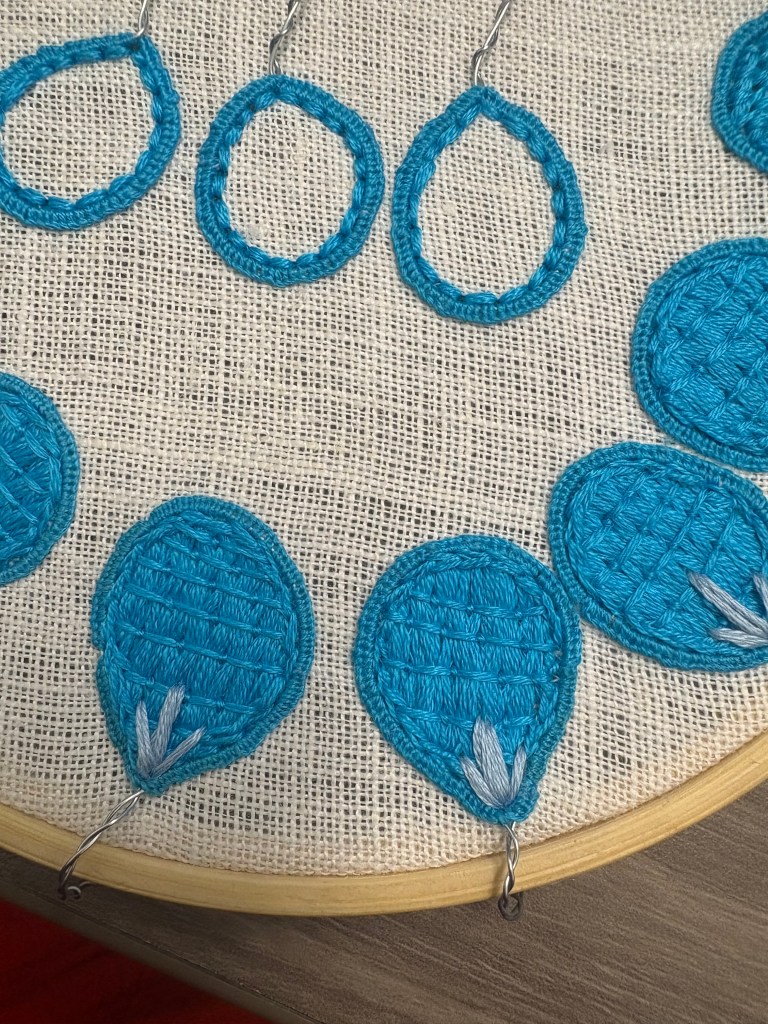
After I completed the fill stitch, I added some light embellishments on top just to make the petals look more similar to real forget-me-not flowers. I added 3 lines in a lighter blue, these are just normal stitches, nothing fancy. At this point, I sat back and said “these look like blueberries. I spent all this time and made blueberries,” which was exceptionally funny. We’ve gotta trust the process here!

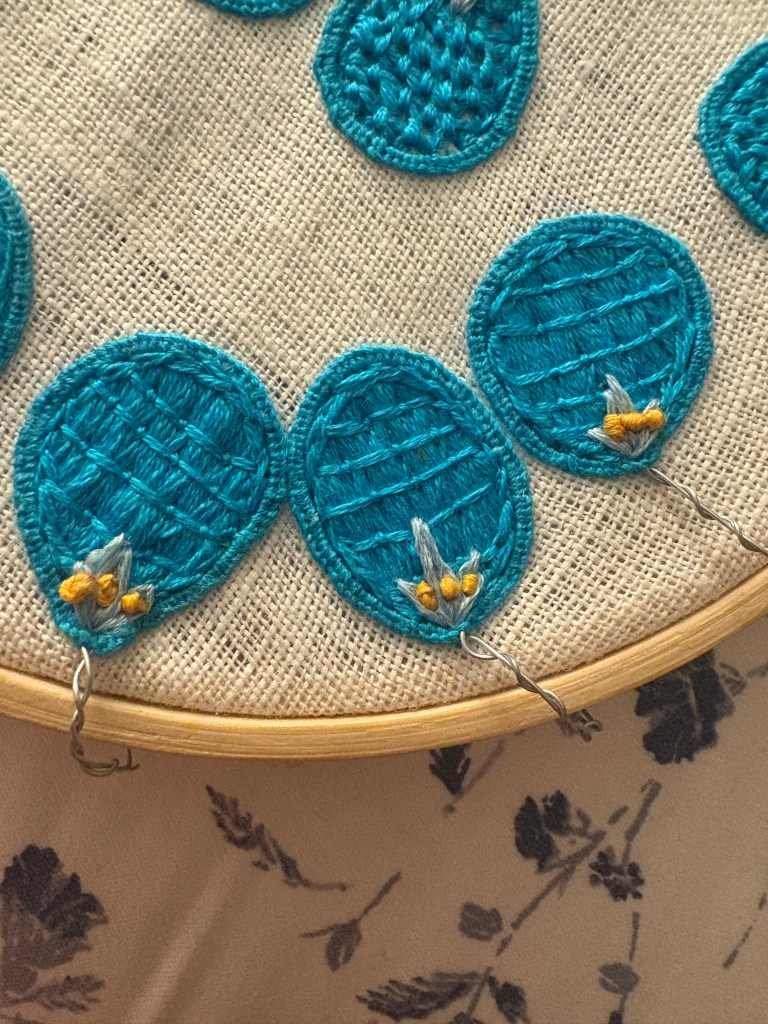
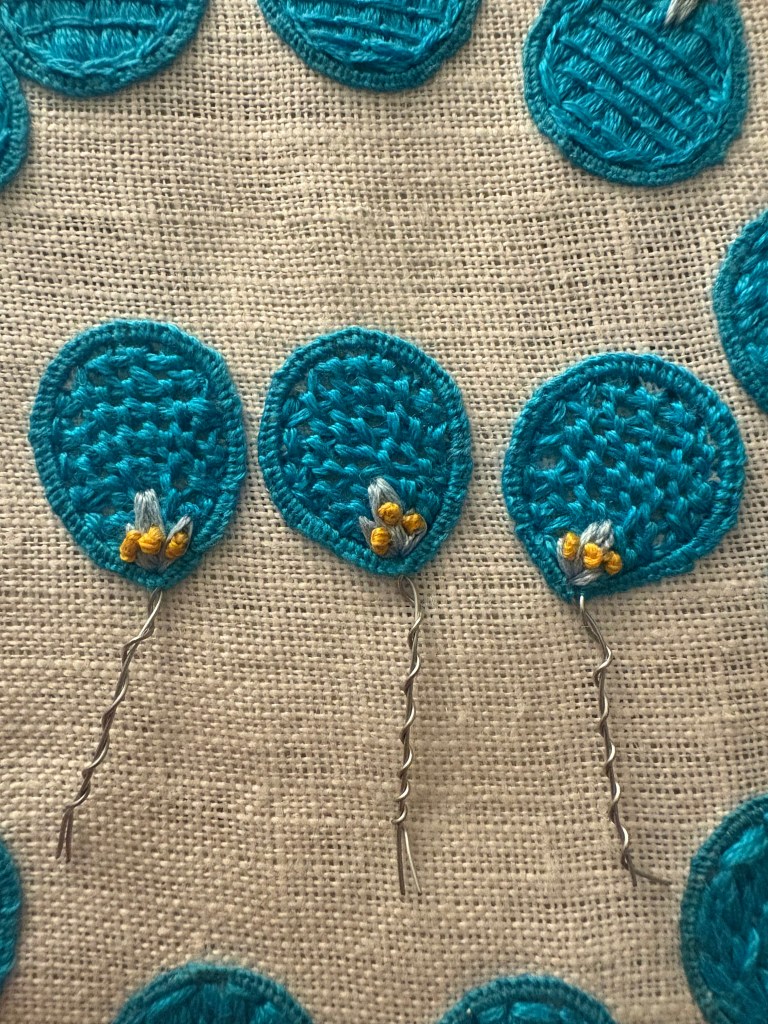
I then added some yellow…knots. I tried to do French knots, I really did. I suck at French knots. They tangle, they don’t lay close to the fabric, it’s just a mess. So my solution is to do regular overhand knots, like how you would tie a knot on the back of your fabric to stop your thread? I’m just doing that on the front of the fabric and then stitching as close to the base of the knot as possible. And just for the record, this method is also a mess and works only 80-90% of the time. To finish, I intended to add one single stitch of black to the very base of the petals…however I got impatient and I was sick of doing knots at this point so I skipped it. I also couldn’t find my black thread and was dying to see these flowers assembled after working on them for just over two weeks.
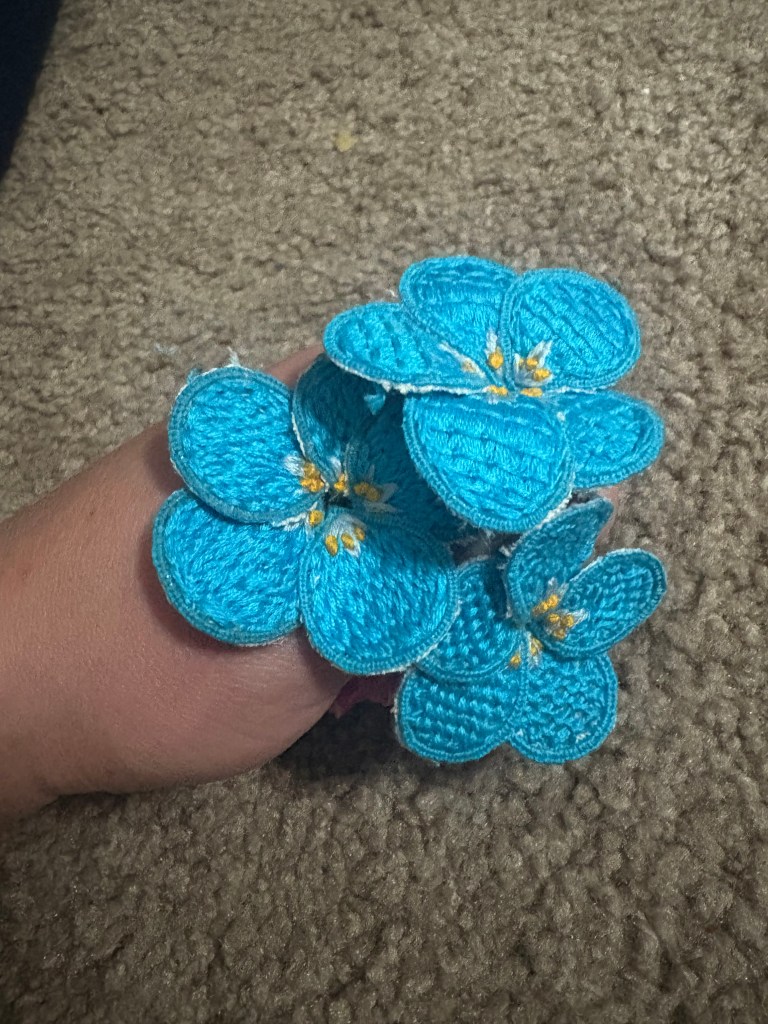
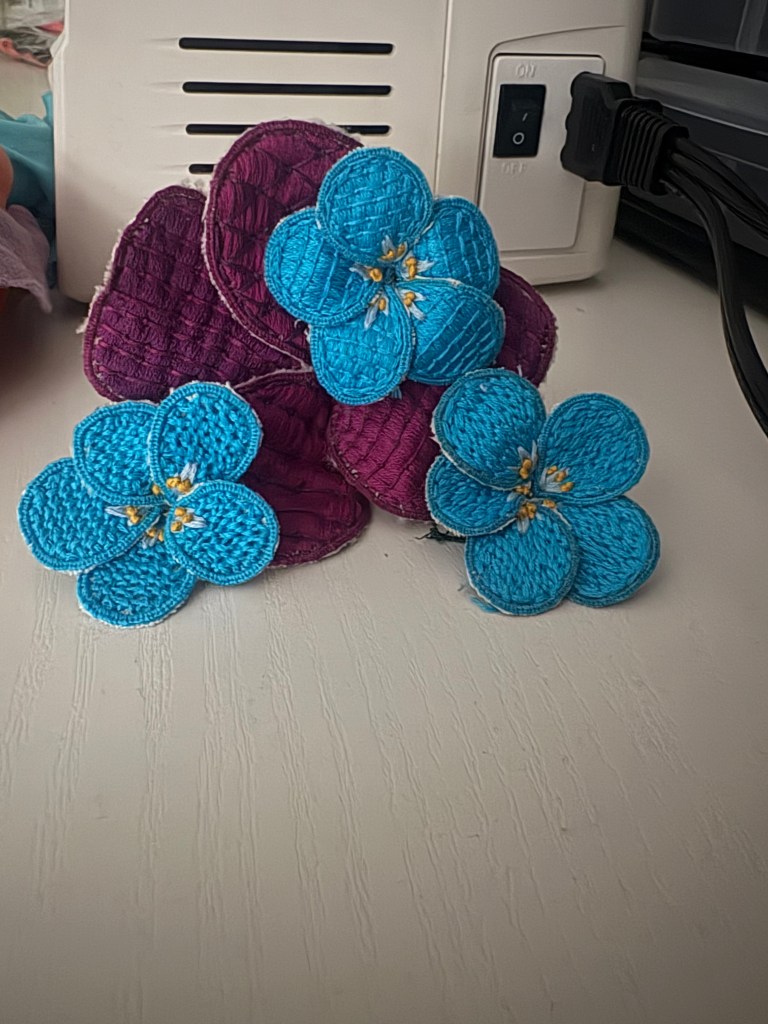
Honestly, these are really stunning. I think I’m getting better at the stumpwork process too, which is encouraging. I got some feedback that I needed to make my buttonhole stitches even closer together, to really ensure that no wire shows through, and I can see improvement as I finished each petal. I’m still making mistakes, but to an untrained eye they aren’t super noticeable.
The trouble with this blog is that I want to do more frequent posts. I really enjoy writing, and I would like to keep it consistent. But I can’t keep up with the pace with embroidery. It’s not even a question of time, I can grind out flowers and other embroidery projects in a week or two. It’s really starting to take a toll on my body, which is INSANE. But I’m having some intense pain along the outside of my right arm. It started in my wrist, and has since traveled up to my elbow, and I think it’s because I normally do not do this much embroidery as consistently as I have been for the last month. I really have to take a chill and slow my pace on this project. BUT the bright side to this is that Pennsic is rapidly approaching and I have done absolutely no work on my clothing. I really need to get on that (like yesterday. Seriously, it’s going to be an issue LOL). Next blog post will likely be a clothing sewing update, and I’ll continue to work on the embroidered flowers in the background. I’m aiming to update this project again after Pennsic, in mid-August.
To finish out this blog post, enjoy some final process photos that didn’t make the cut for the bulk of the story!



Leave a Reply