Stumpwork Embroidery Part 1
05 June 2026
I took a couple days and did some research into different areas of embroidery that I might want to explore more in depth. I’m loosely following the Athena’s Thimble Guild page to guide me. At a recent event, I achieved competency in the category of Free Embroidery, which is most of what a lay person would see decorating various fabric items. I’ll eventually get around to making a blog post about my past free embroidery projects!
Anyway, the embroidery bug (and a bit of my competitive nature) bit me, and I’ve been looking into other categories to focus on to get more competencies. (Like pokemon, gotta catch ’em all!) I’m not really a numbers and counting person, which takes out several categories immediately. But stumpwork caught my eye.
What is stumpwork? Stumpwork is 3D elements incorporated into embroidered pieces, usually using the buttonhole stitch, and variations on the buttonhole stitch. I use the buttonhole stitch a ton in the garments and various pouches I make, so it seemed like a good fit. As I was watching various youtube videos on stumpwork, I actually discovered……I’ve already done this!
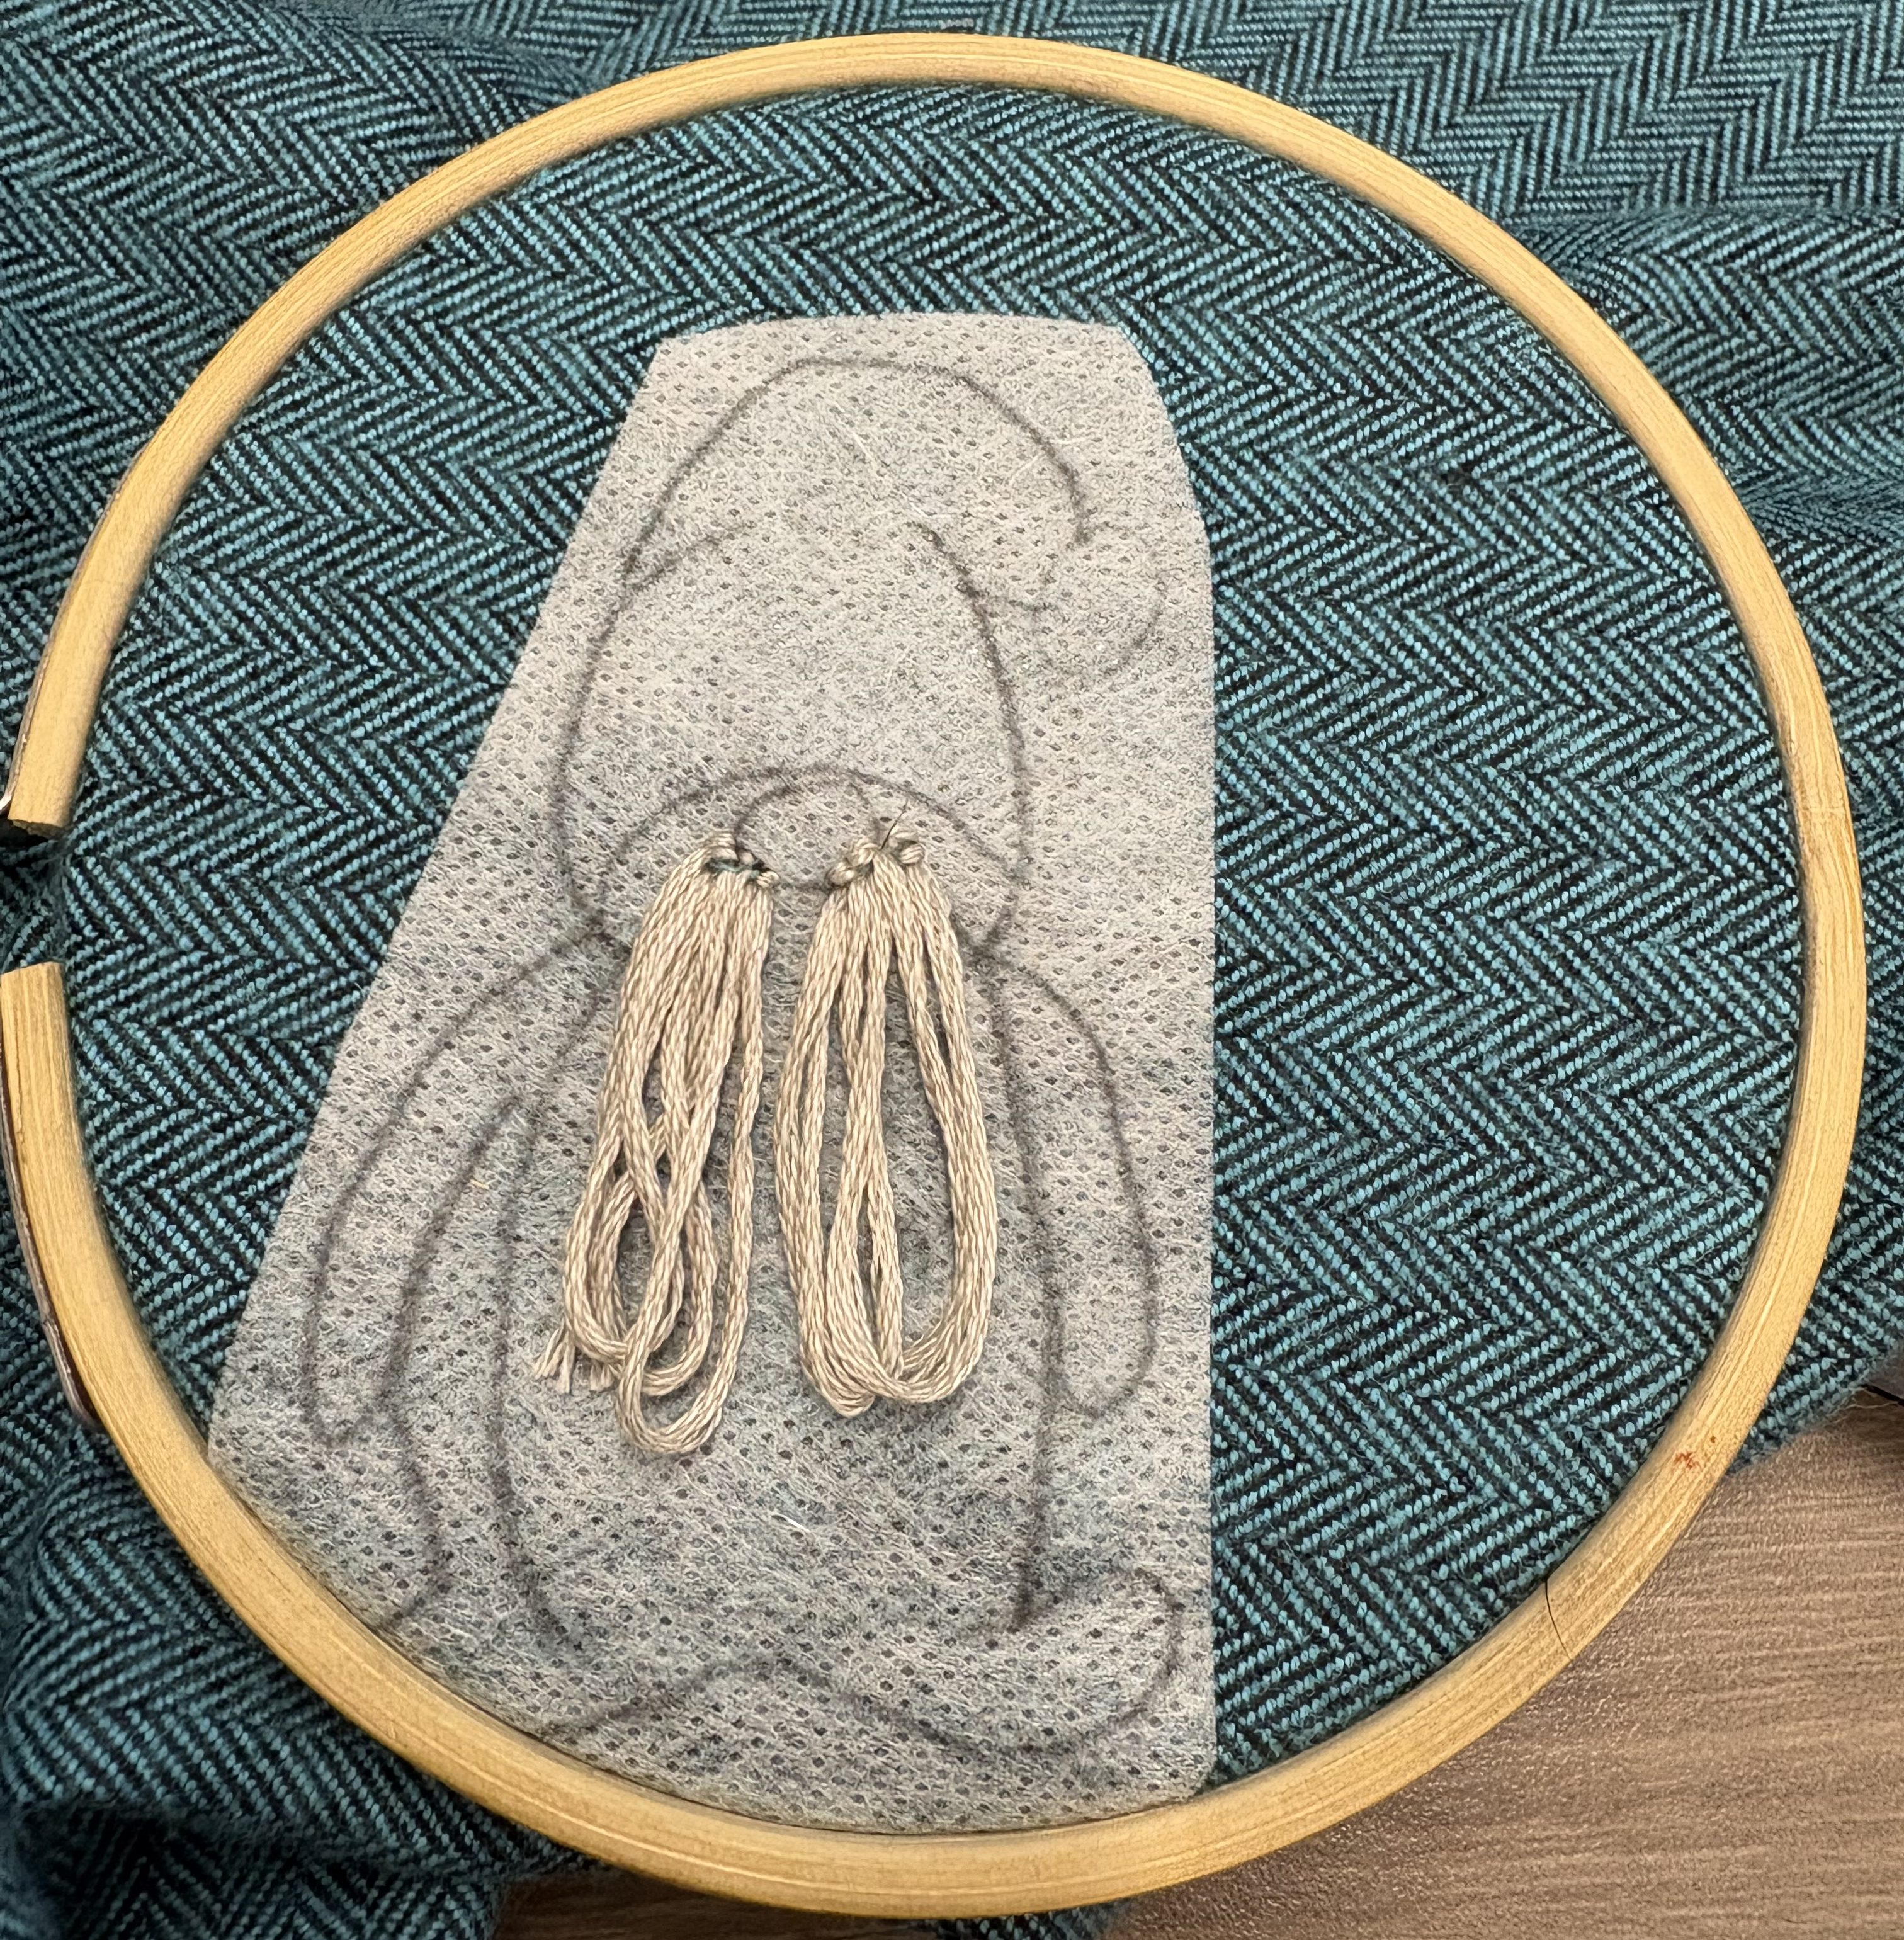
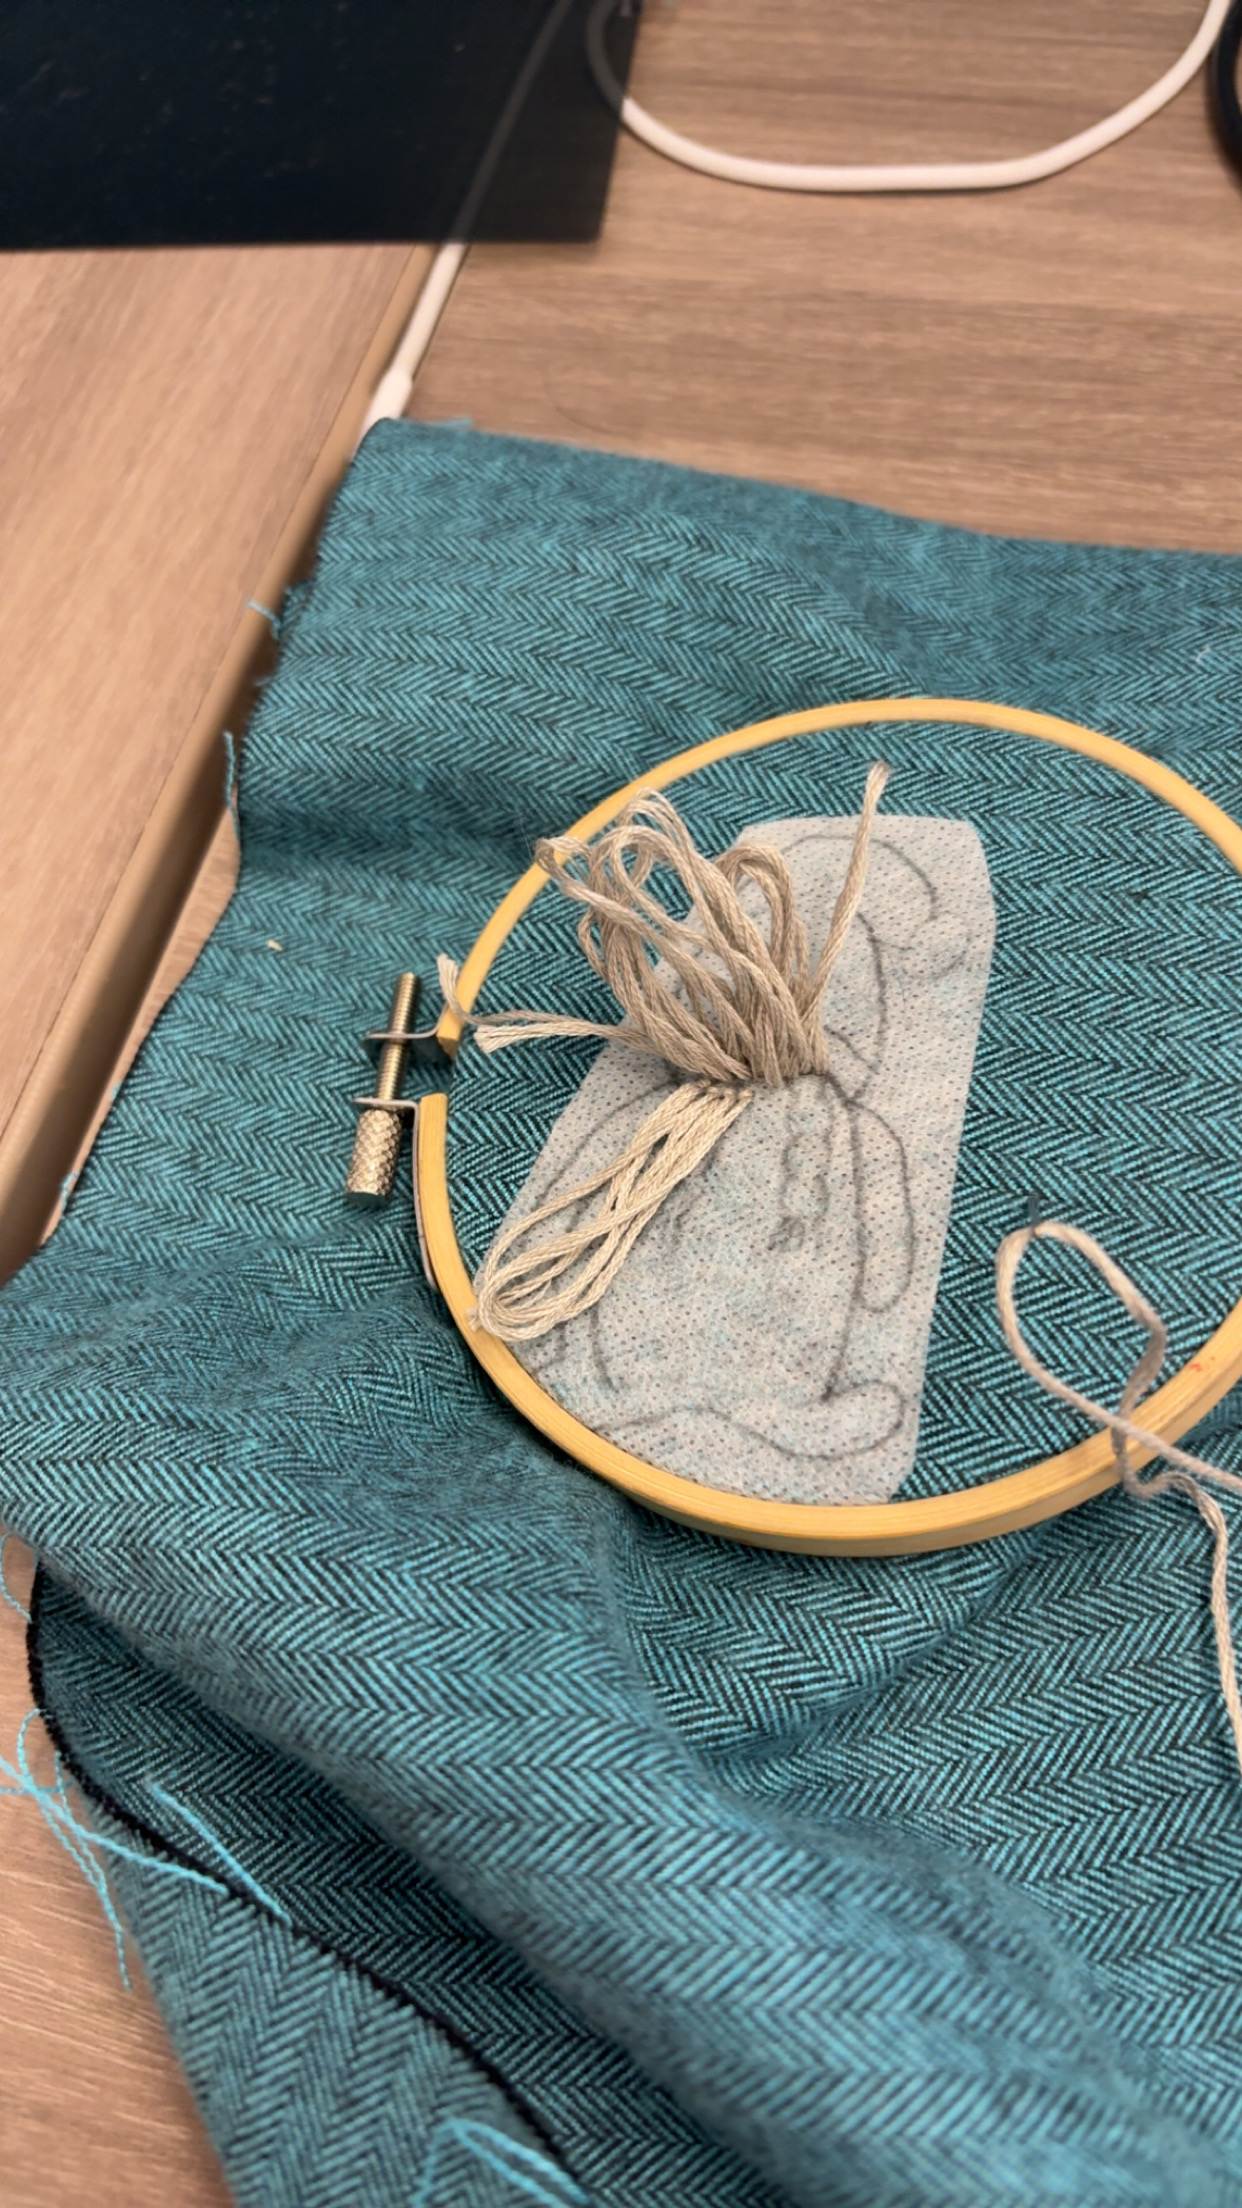
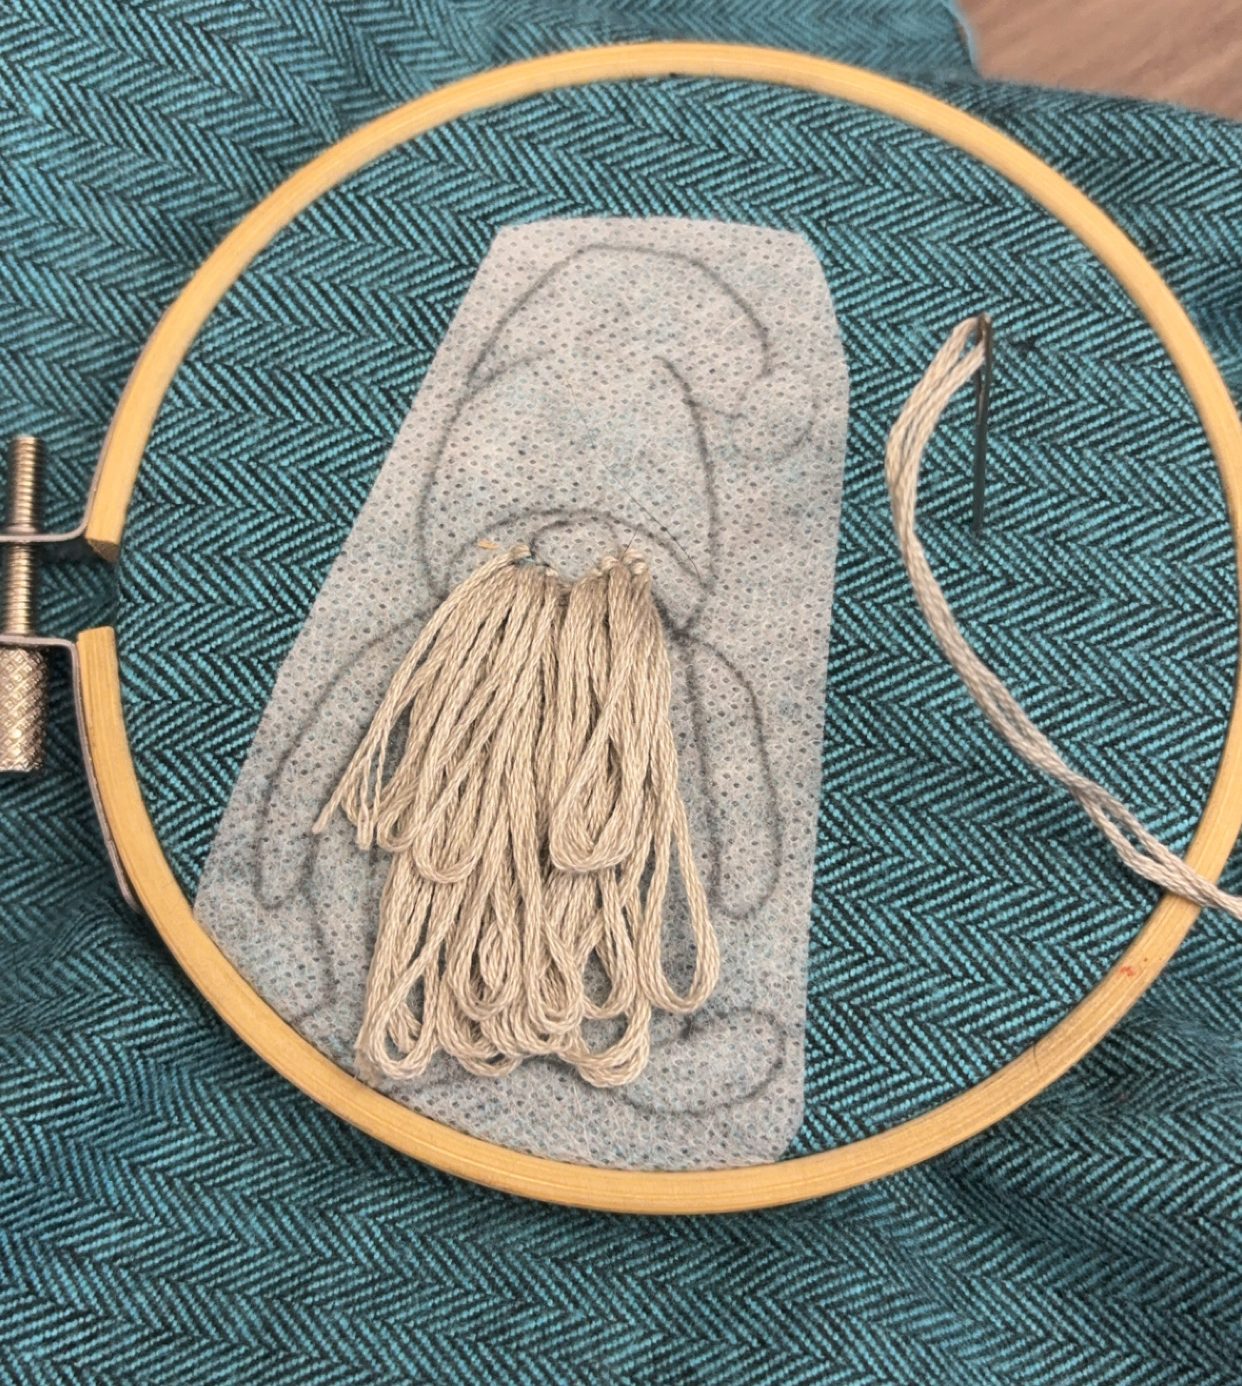
Last November, I began making my annual handmade Christmas gifts for my friends. One of my dear friends is very into gnomes, so obviously I made him a gnome pouch to hang off his belt. I sketched out the outline on water soluble embroidery paper, and got to work. I decided the gnome would be cooler if it had a real mustache and beard, so I used the buttonhole stitch with a slight variation to accomplish that!
Then of course, I filled in the gnome’s body and hat, and added a 3D pompom to the top of his hat!
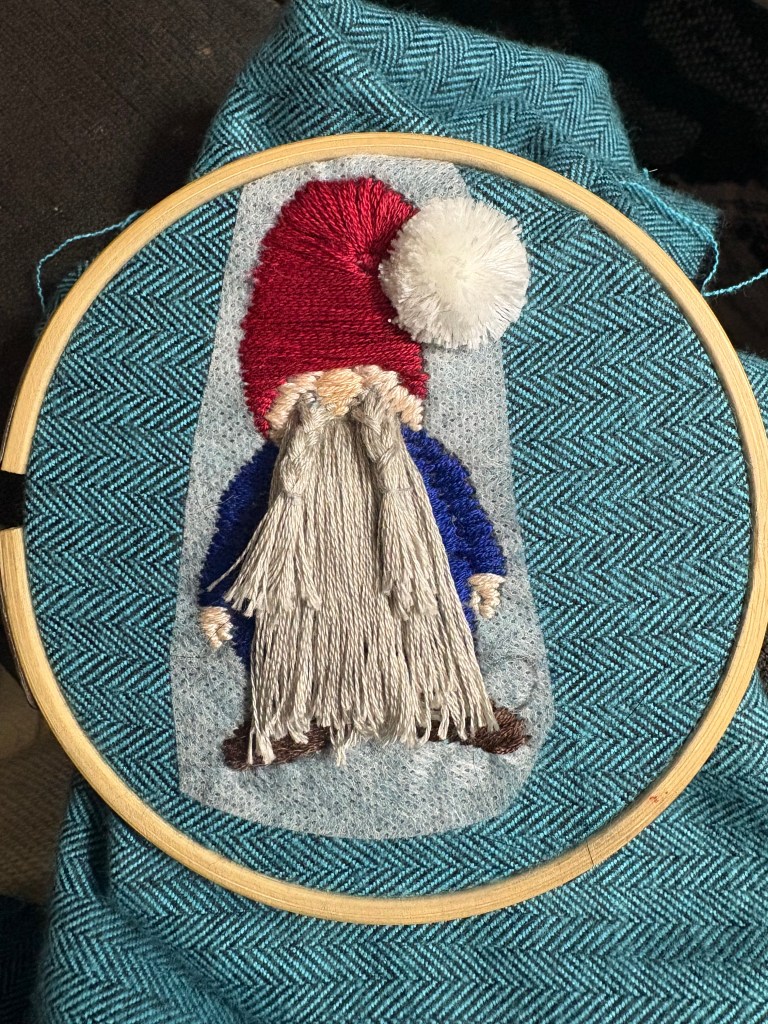
I don’t actually know if the pompom detail is considered stumpwork or not. I made it by tying embroidery floss together and then cutting and shaping it into a ball (the usual pompom method), and then stitched it down onto the fabric.
After all the embroidery was done for the body and hat, I cut the loops for the beard and mustache open and very carefully braided and tied off the mustache. I trimmed it after washing off the interfacing, but alas I don’t have a picture of the finished pouch. It was really adorable, and my friend was absolutely delighted to receive it!
As I was reminiscing on this last project, a vision struck me. This is how my creative process usually works honestly. I’m possessed by a vision and the imperative to create won’t subside until the vision comes to life. I need to make a flower crown out of stumpwork embroidered flowers.
I know what you’re thinking, “Shea, no way” “Shea that’s insane” “Shea I actually have no frame of reference, what the hell are you talking about?” All valid. Walk with me through my thought process. Last summer, at Pennsic, I took a class on French Beading. Essentially this is the art of stringing tiny glass seed beads onto wire and wrapping it to look like a flower. Please click on the blog I linked to see more, it’s a stunning art form! I came home and bought all the supplies to make my own french beaded flowers. Friends, I lack this skill. I made 2 very unhappy looking daisies and immediately gave up.
One of the wonderful videos I watched to learn stumpwork was by Jessica Long Embroidery, and in that video, she features this art piece Anna Embroidery Pattern. I don’t want to steal her image to post here, but it’s a gorgeous piece featuring a woman with a stumpwork hibiscus on her head.
To create a 3D piece like that hibiscus, you need to create a wire slip that you embroider over. Each petal is it’s own slip that you can bend and position however you want! Immediately I connected this concept to the french beading, and thus the vision possessed me. I can combine techniques from both artforms and create my own work. It’s a really exciting idea, so I pretty immediately got to work on my proof of concept.
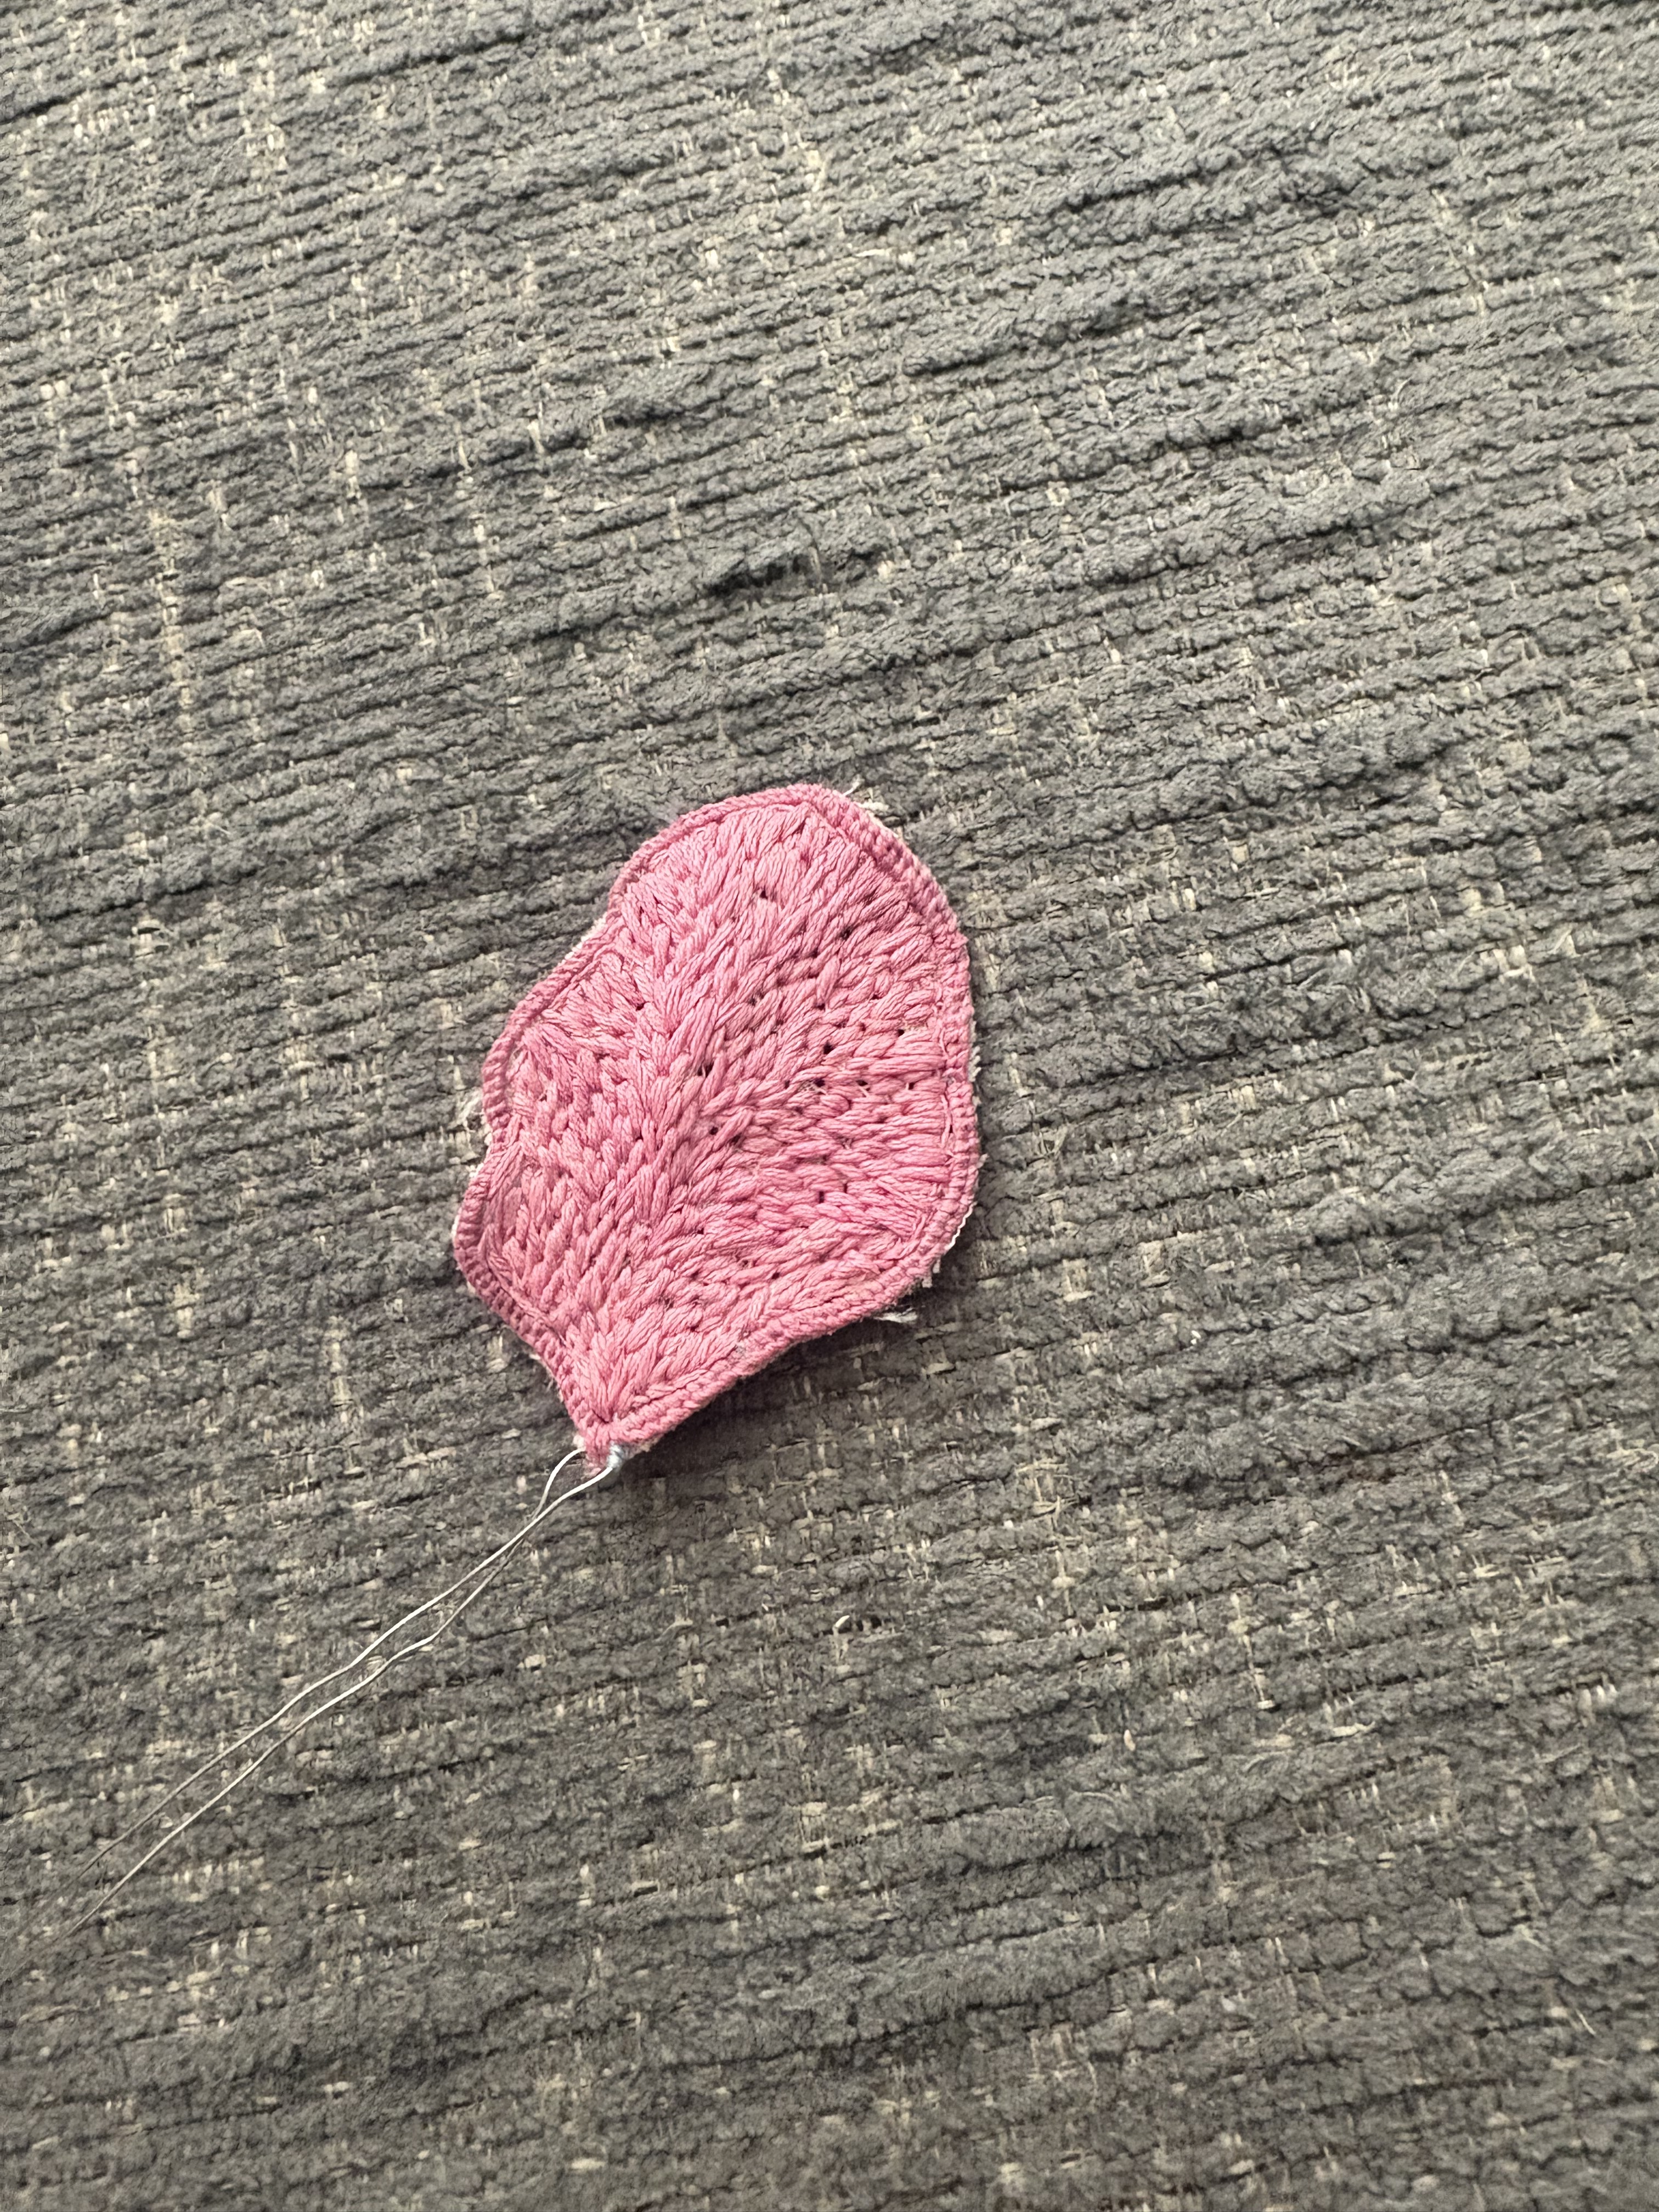
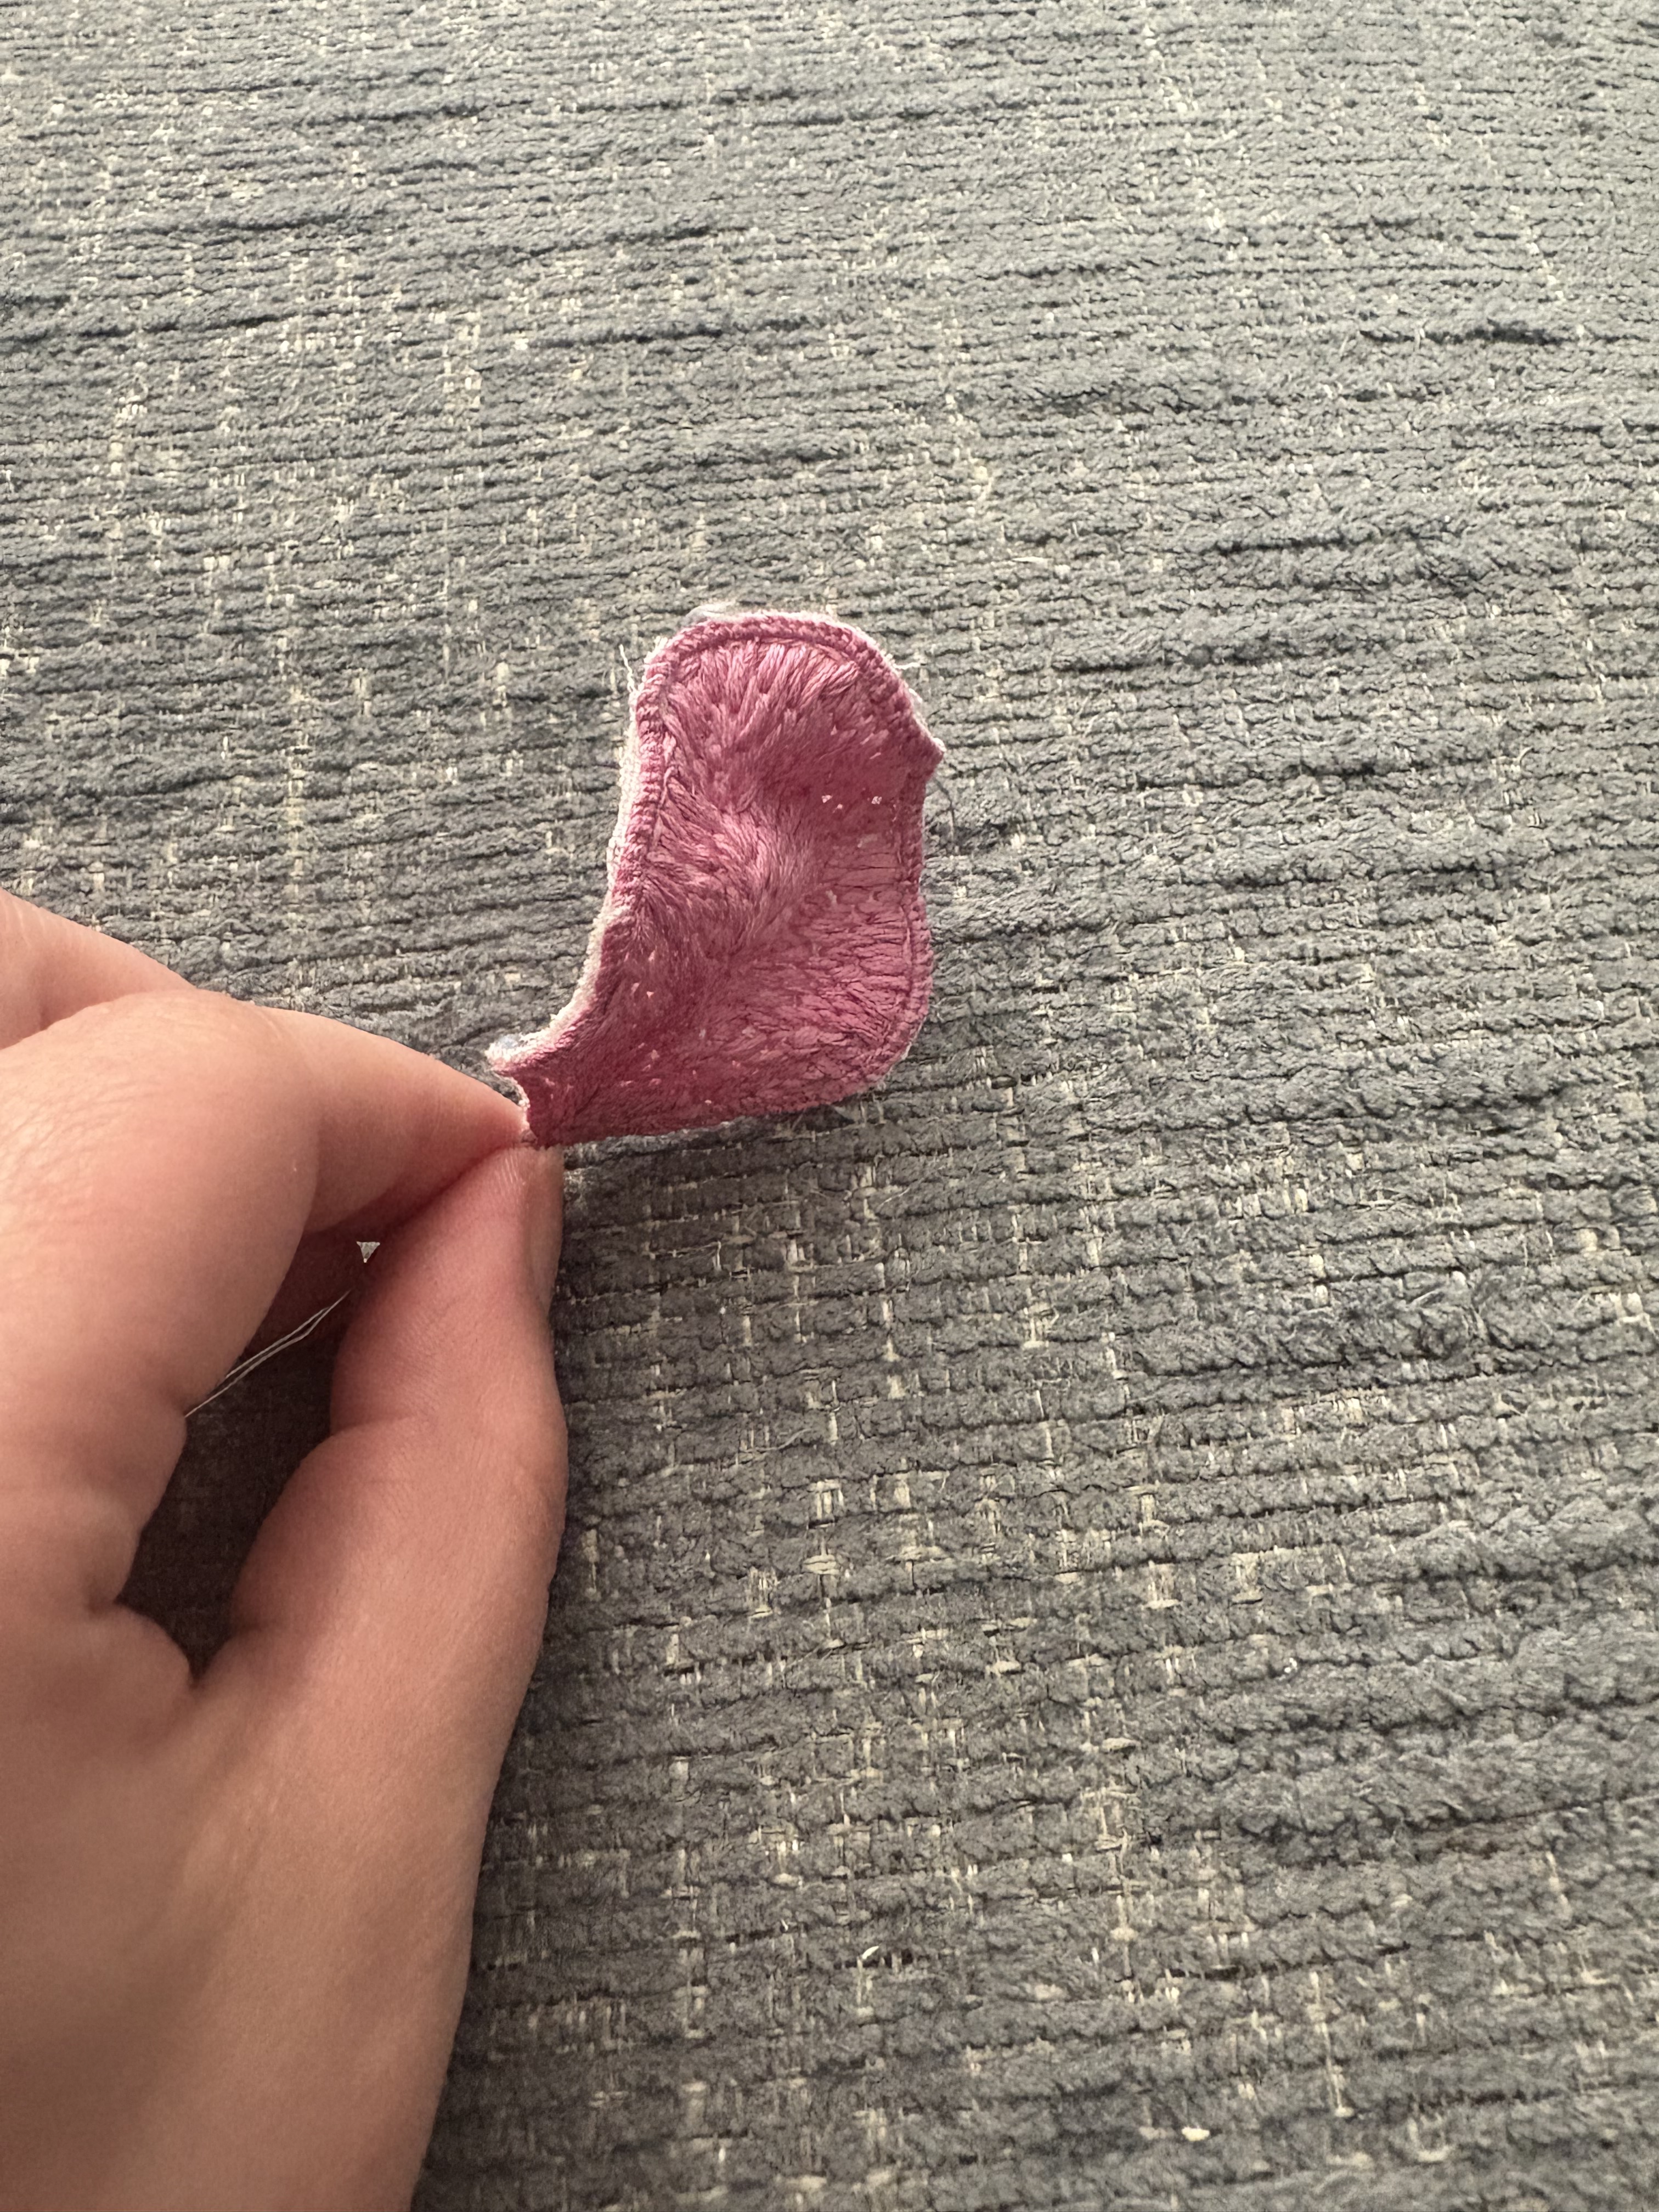
TADA! Behold my proof of concept! Ok so, what you’re looking at is one petal of what will eventually be an entire flower. Did I take any pictures at all of the process of creating this petal? No of course not! I’m new to this blogging and documenting stuff. Basically, I created a wire loop, grabbed some scrap fabric, put the fabric into an embroidery hoop, and tacked down the wire to the fabric. Everyone calls this tacking stitch “couching” which is a whole other field of embroidery (we’ll get there eventually). I don’t really consider this couching, so we’re going to call it tacking. I did this in a contrasting thread (it’s the blue you can see in the back view). Then I did a buttonhole stitch over the entire wire loop. I then did a ring of split stitches on the inner edge of the wire, and did long and short stitches to fill in the middle. If you’re lost at this stage, go up and watch that youtube video I linked. At some point I’ll make my own youtube channel but until then, other tutorials will have to do. After all the sewing was done, I carefully cut out the petal using very small embroidery scissors. I had to be careful not to cut any of my stitches!
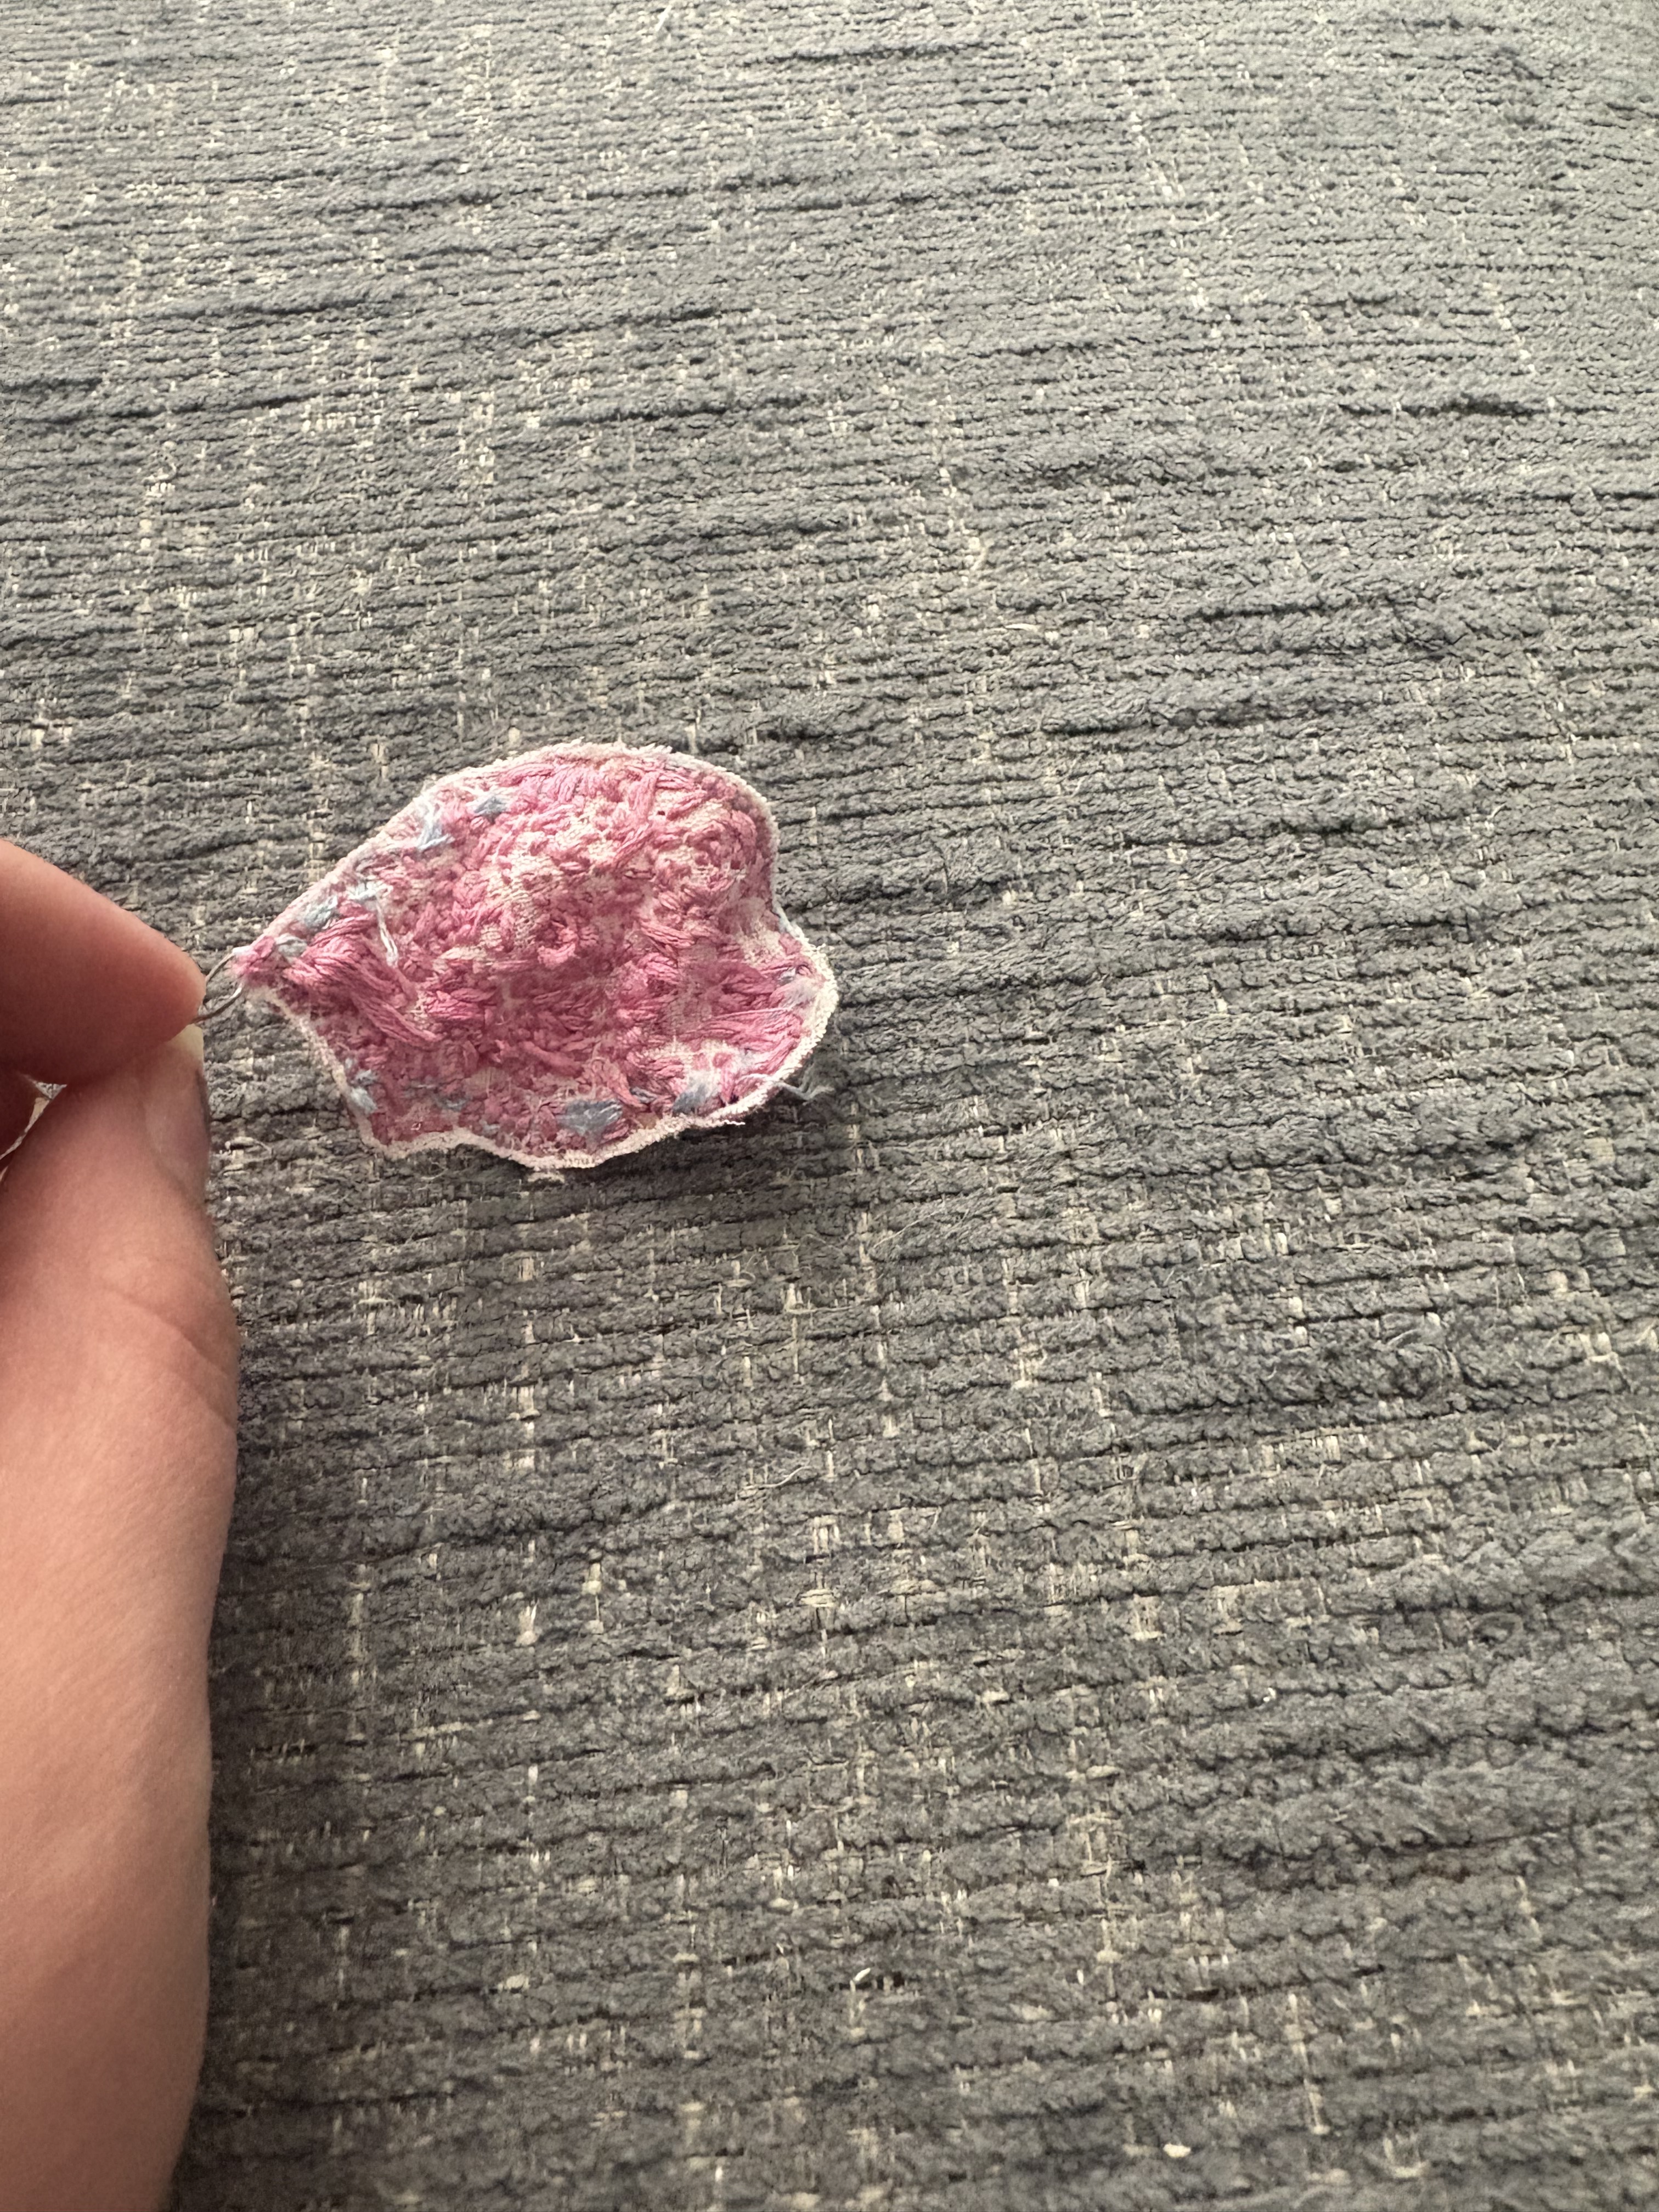
So my broad thoughts after this proof of concept petal. First, IT WORKS!! I’M A GENIUS!! Secondly, I do have some areas for improvement. I found my fabric became kind of thin and frayed from the tension of the buttonhole stitch and wire. I’m going to experiment with how taunt the fabric is and how tight my buttonhole stitches are to see if I can reduce that. If not, the split stitch ring on the inside of the wire served as a really good reinforcement, and that might be sufficient. Thirdly, I enjoy the long and short stitch, but I really need to explore other methods to fill larger spaces (or make smaller flowers). I would like the back to look as close to the front as possible for display purposes, so I’ll have to think about that while I’m sewing. I have a tendency to use the thread saving version of the satin stitch, I think using a regular satin stitch (and potentially some actual couching) will give me more of the look I’m going for.
The fabric and wire does show through, and there are some ways to mitigate that. I used all 6 strands of the embroidery floss, I find working with all of the threads easier than separating them out, and I was going fast. I think using 2-3 strands will allow my stitches to lay closer together and hide the wire much better. All the tutorials I watched use one strand, but I’m not sure I have the patience for that. Matching the fabric color to the thread color would also help to blend it in, but I kind of like having some of the fabric peeking through. It helps to remind viewers that this is hand done, and it’s embroidery. I don’t think I need to go for hyper-realism at this stage.
However, I will be able to add a lot of depth using thread painting/silk shading. This is a fascinating technique that I’ve been meaning to get better at. You use long and short stitches to blend together different colors to give embroidery pieces shading. It will make my flowers look more true to life, without losing any of that handmade charm.
Finally, I use beeswax to coat my thread so it glides easier through the fabric and doesn’t knot up. As a result, the petal smells AMAZINGLY of beeswax. I can’t imagine how good a full flower crown is going to smell!
One response to “Stumpwork Embroidery Part 1”
-
Lovley!
LikeLike

Leave a comment